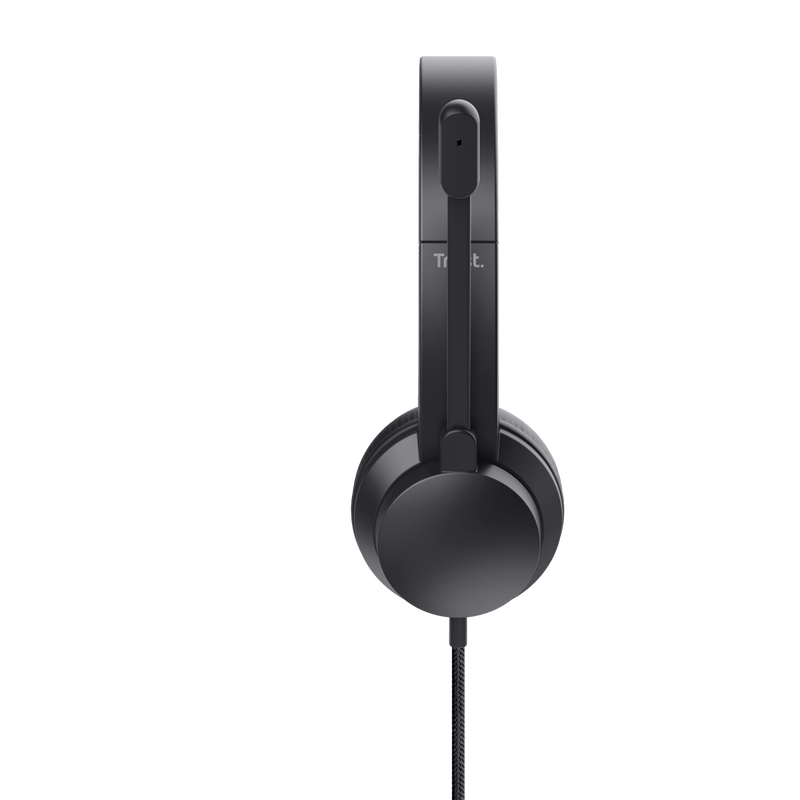
Kulak üstü USB Kulaklık
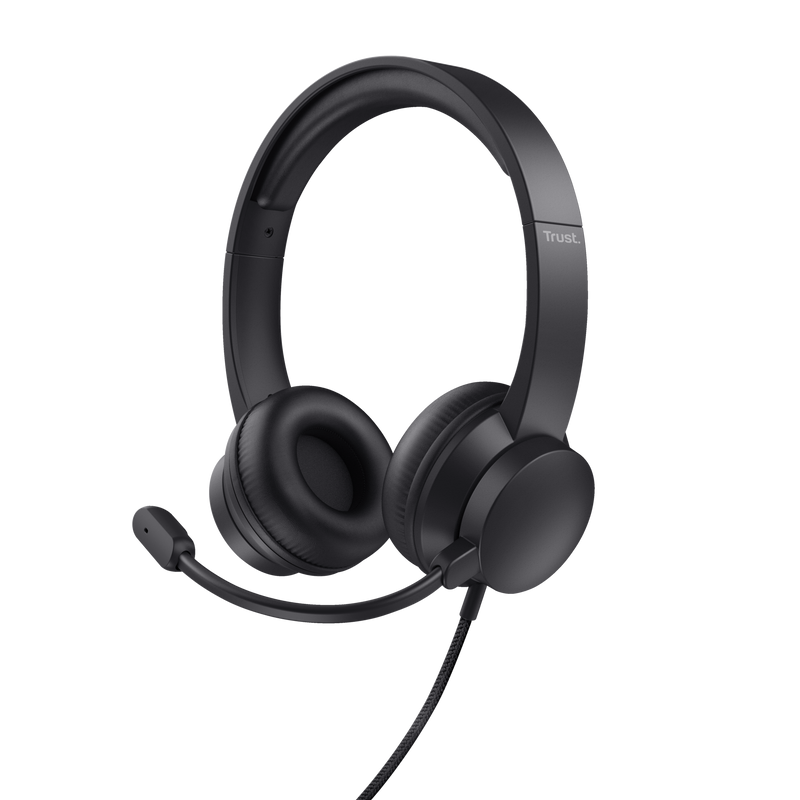
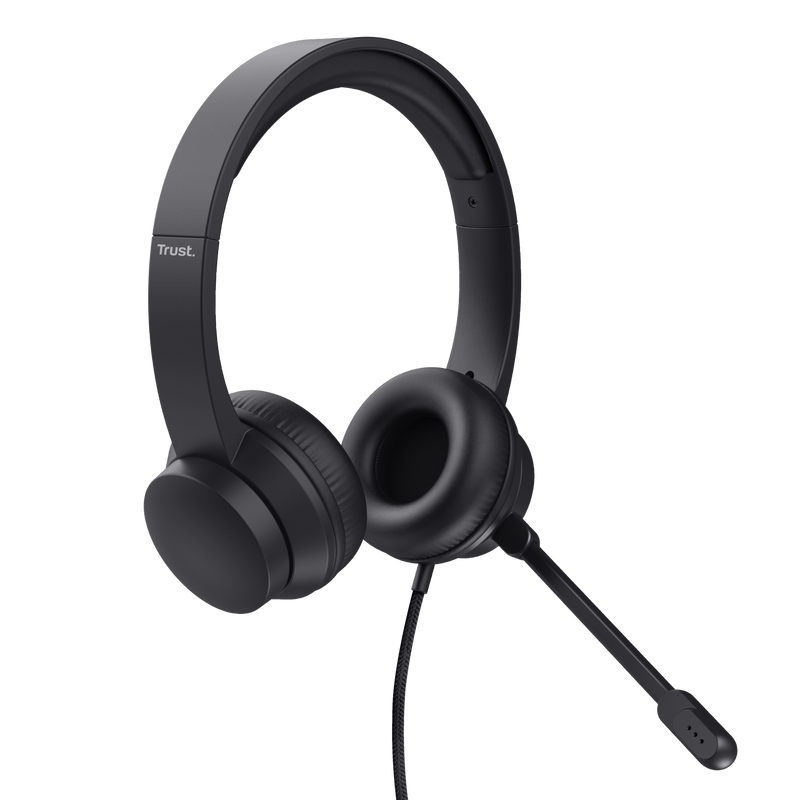
Yumuşak kulak yastıkları ve ayarlanabilir bant ile kompakt kulak üstü USB kulaklık
İyi görünün, iyi hissedin
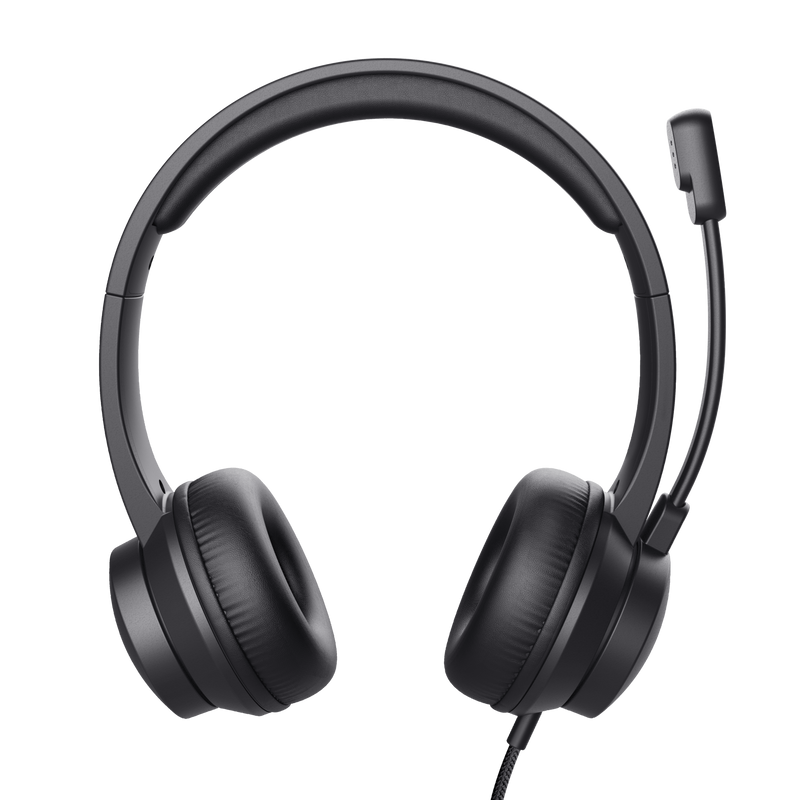
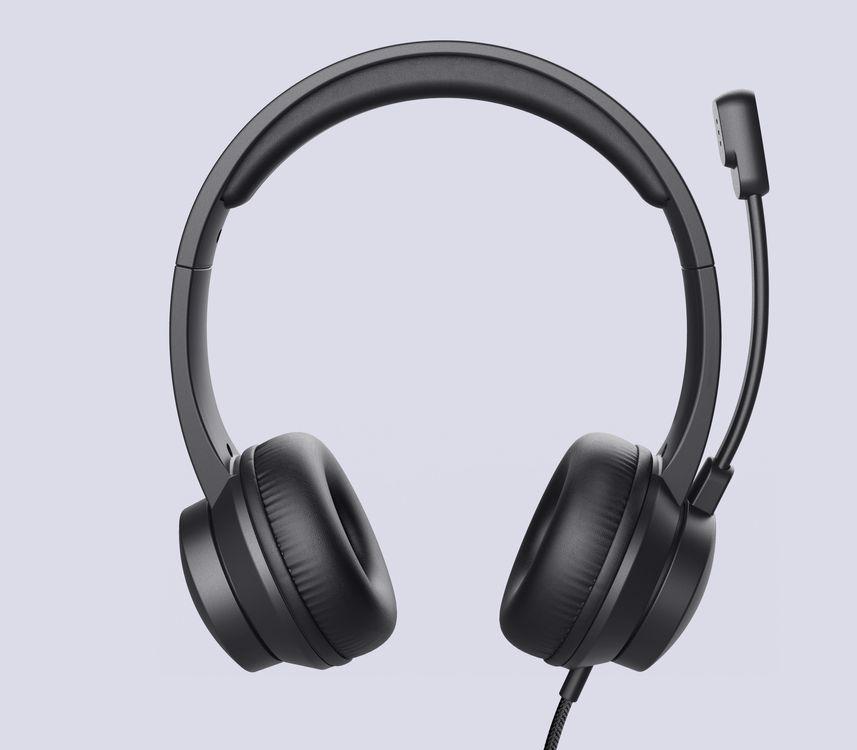
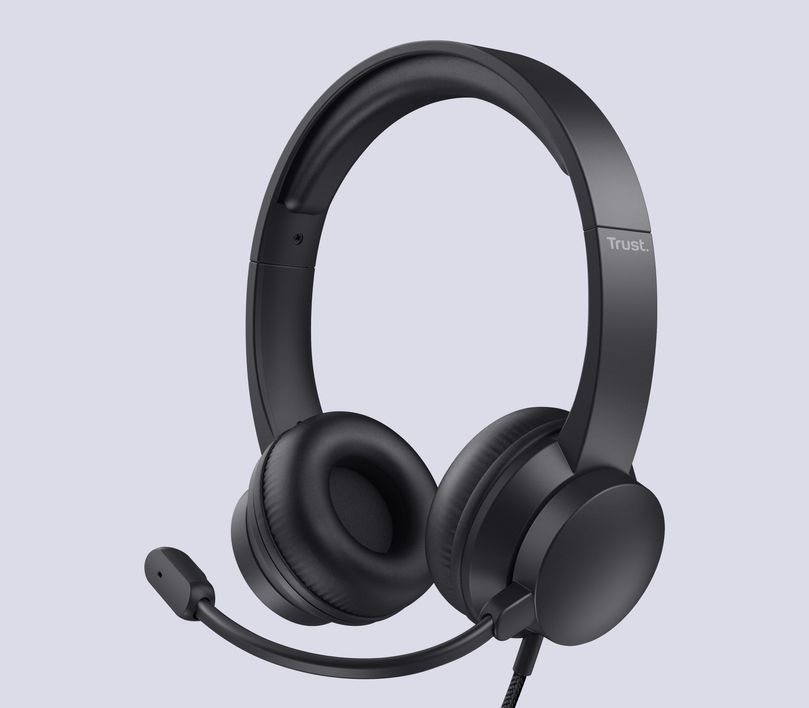
HS-200 kulaklık, yumuşak yapay deriden kulak yastıkları ve saatlerce çalışmaya hazır profesyonel, şık bir görünümle kompakt ve konforludur.
Temel Özellikler
Kafa kafaya mücadele
Ayarlanabilir bir kafa bandı kulaklığınızı ayarlamanıza olanak sağlar, böylece en uzun (ve en sıkıcı) toplantılarınızda bile üretkenliğinizi, verimliliğinizi ve rahatlığınızı korursunuz.
Sesinizi yükseltin
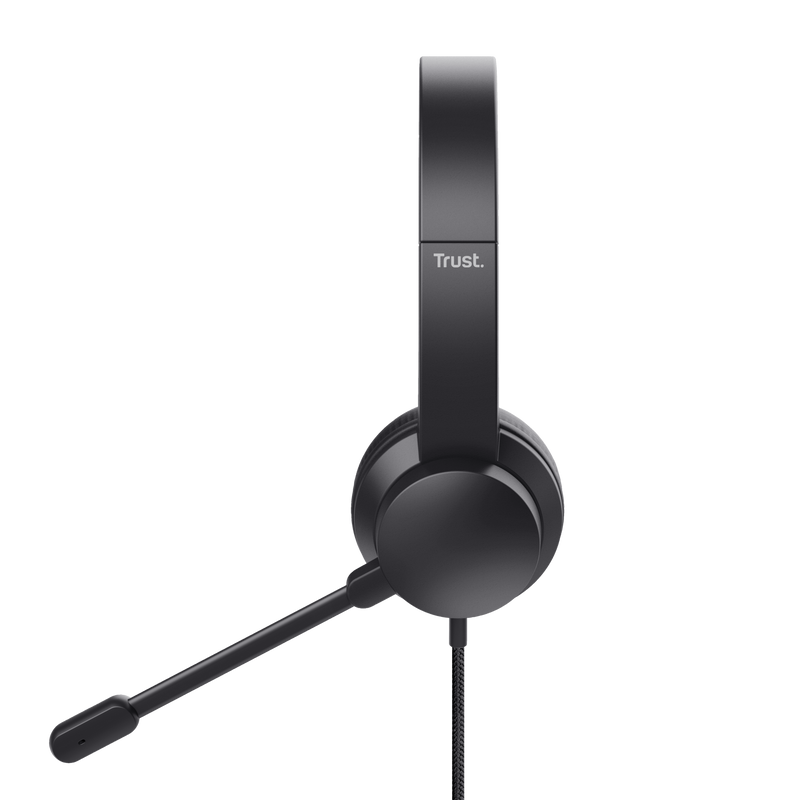
Net, dijital konuşmaya ve ses kalitesine sahip ayarlanabilir mikrofon, nerede çalışırsanız çalışın fikirlerinizin duyulmasını sağlar.

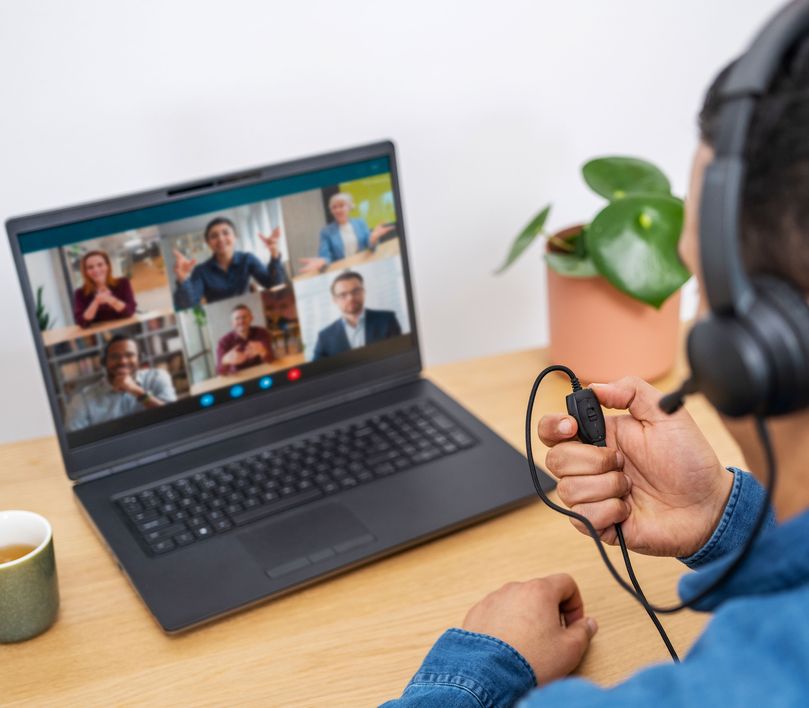
İstediğiniz gibi çalışın
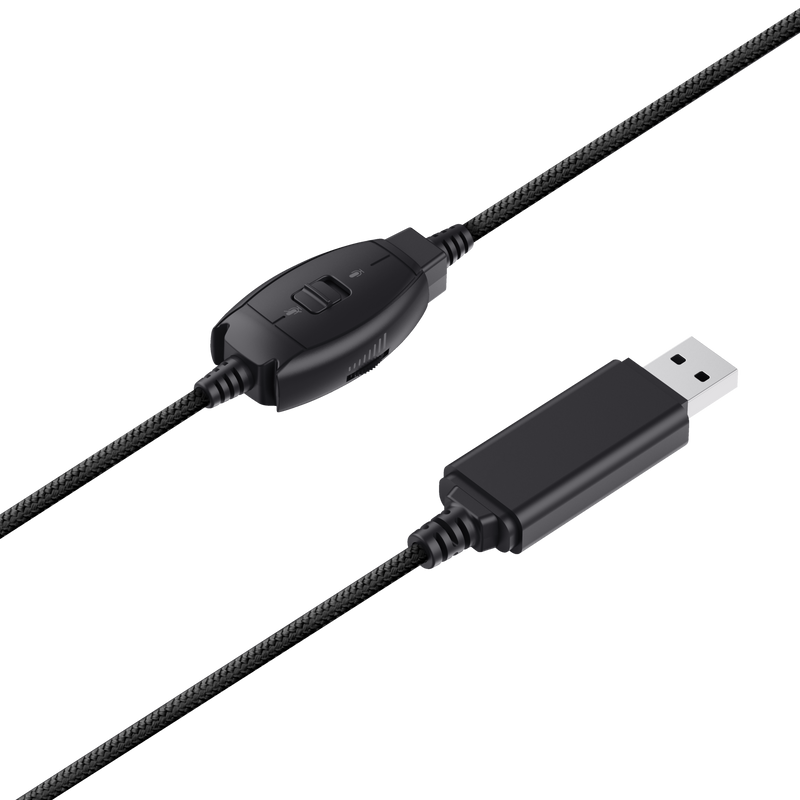
1,8 m kablo size hareket özgürlüğü sağlarken, dahili kontroller ses düzeyi ve mikrofonu sessize alma ayarlarının kolay yapılmasına olanak tanır. Ayrıca, tak ve çalıştır özelliği iş arkadaşlarınızla anında bağlantı kurmanıza yardımcı olur.
Özellikler
Features
Size & Weight
Control
Connectivity
Audio
Headphone
Microphone
Lighting
Input
Compatibility
Ekstra bilgi
Kulaklık seti
Kullanım kılavuzu
Windows 10, 11
macOS 10.15, 11, 12
USB portu
Dosyalar
EU declaration of conformity (DoC)
Versiyon 1.0 | Çok dilli
EU declaration of conformity (DoC)
Sıkça Sorulan Sorular (FAQ)
- Make sure your system is up to date
- Unplug the headset and restart the system.
- When your system has completely loaded, connect the device directly to the USB port without using a hub or an extension cable.
- Check in the Device Manager if the product is correctly installed or if there is any error message reported.
- On Windows 10: Verify that the microphone of the headset is allowed to be used by applications in the Microphone Privacy Settings.
- When the device is recognized by the system, you need to set it as default device for sound input and output in the Sound Settings.
- If the headset includes an inline remote, make sure that the controls on the remote such as headset volume and/or microphone mute are set correctly.
- The headset is ready to be used.
If the volume of the microphone is too low, make sure that the AGC option is enabled in Windows.
You can do this by following the instructions below:
Windows 10:
Go to Settings, then System and click the Sound tab on the left. After that, find the "Related Settings" header and click the "Sound Control Panel".
In the window that pops up, go to the Recording tab, press the microphone you use once and press properties at the bottom of the window.
Next, go to the tab labeled Custom, check the box marked AGC and press Apply.
Windows 11:
Go to Settings, then Sounds, scroll to the bottom of the page and press "More sound settings"
In the window that pops up, go to the Recording tab, press the microphone you use once and press properties at the bottom of the window.
Next, go to the tab labeled Custom, check the box marked AGC and press Apply.
If you are experiencing audio issues on your Dell computer, make sure to install the latest audio drivers for your computer from the Dell website at https://www.dell.com/support/home/en-us?app=drivers
After you have installed the Dell software and drivers for your computer setup the software correctly to activate the audio devices:
1. Go to the Windows Start Menu and open the Dell Optimizer software.
2. Click the Audio button.
3. Toggle the Switch to ENABLED.
4. Toggle the NOTIFICATIONS on.
5. Disable the Audio page and close the application.
6. When plugin the microphone, headset or headphones, the Optimizer will notify that a device is connected to the audio port. Select the correct device that is attached in the Optimizer option menu.
If this does not solve your problem, contact the Dell support or your system administrator.
Unfortunately, we do not have service centers to repair products.
A defective product should be replaced by your point of purchase during the warranty period.
We offer a 'return to retailer' warranty on our products. In case of a defect, you can return the product to your retailer with failure description, proof of purchase and all accessories. During the warranty period you will receive a replacement product from the retailer if available. For full warranty conditions you can consult: https://www.trust.com/support/warranty
Bize Ulaşın
Bize Ulaşın
Please check our FAQs first, chances are you'll find the answer there.
Couldn't find the answer in the FAQs? Fill out the form below with as much information as possible and one of our help-desk staff will respond at the earliest opportunity. Our messages are answered in the order they are received.
After submitting the form a confirmation message will be displayed with your reference number. The confirmation will be sent to your email address at the same time as well. If you have not received the confirmation message, please check your spam or junk mail folder. Otherwise, fill out the form again with your correct e-mail address.
