4-in-1 thuiswerkset
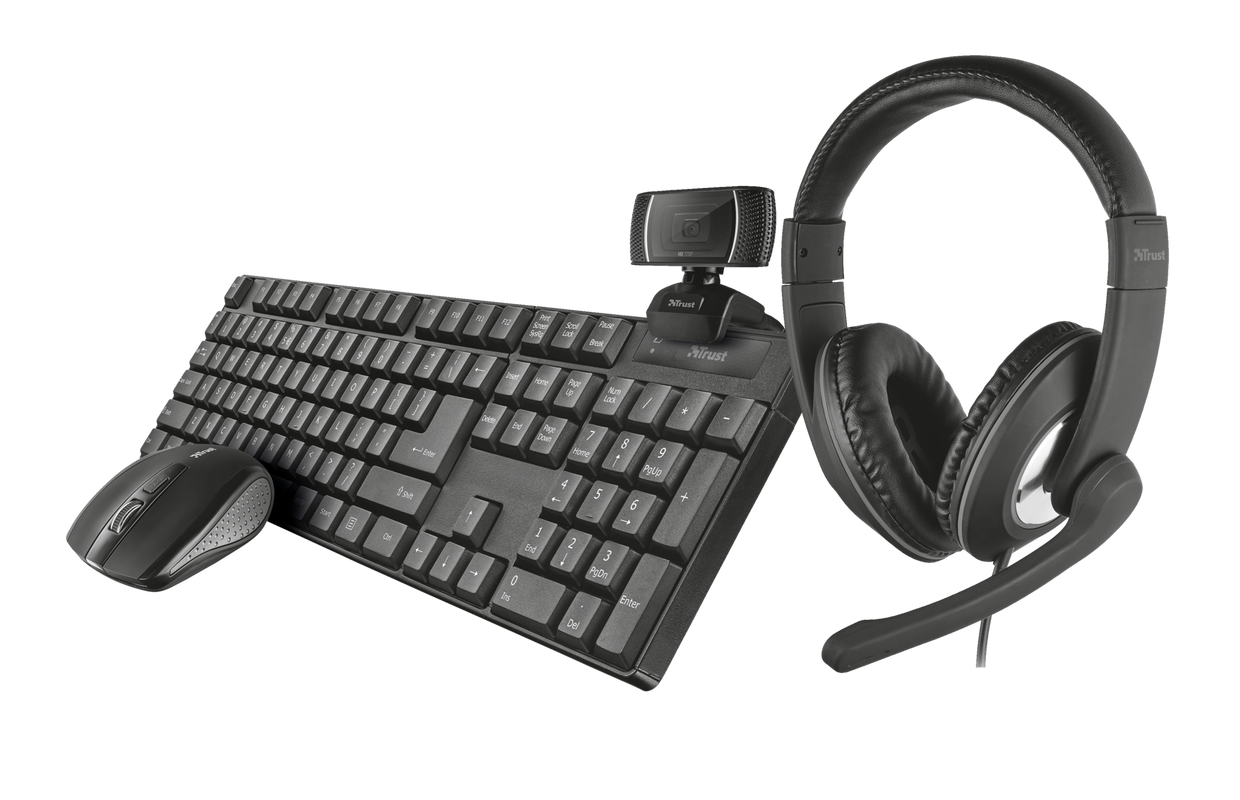
4-In-1 thuiswerkset: omvat een draadloos toetsenbord, draadloze compacte muis, HD-webcam en over-ear headset
Complete Set
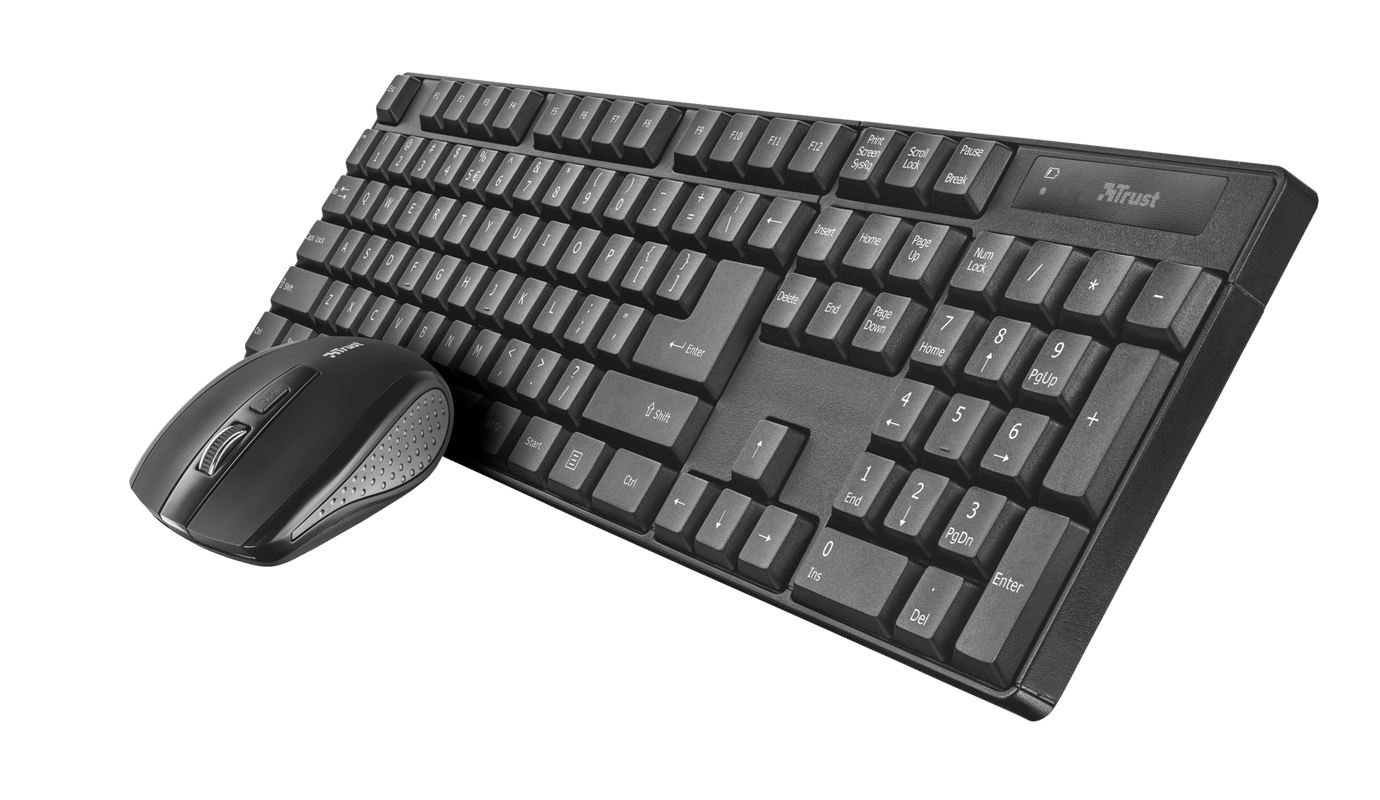
With the Trust Qobi 4-in-1 Home Office Set you have everything you need for a seamless work-from-home experience. This set includes the Trino HD Webcam, the Reno Headset and the Ximo Wireless Keyboard and Mouse Set. Four items that will make working from home a breeze.
Belangrijkste kenmerken
Wireless Keyboard and Mouse
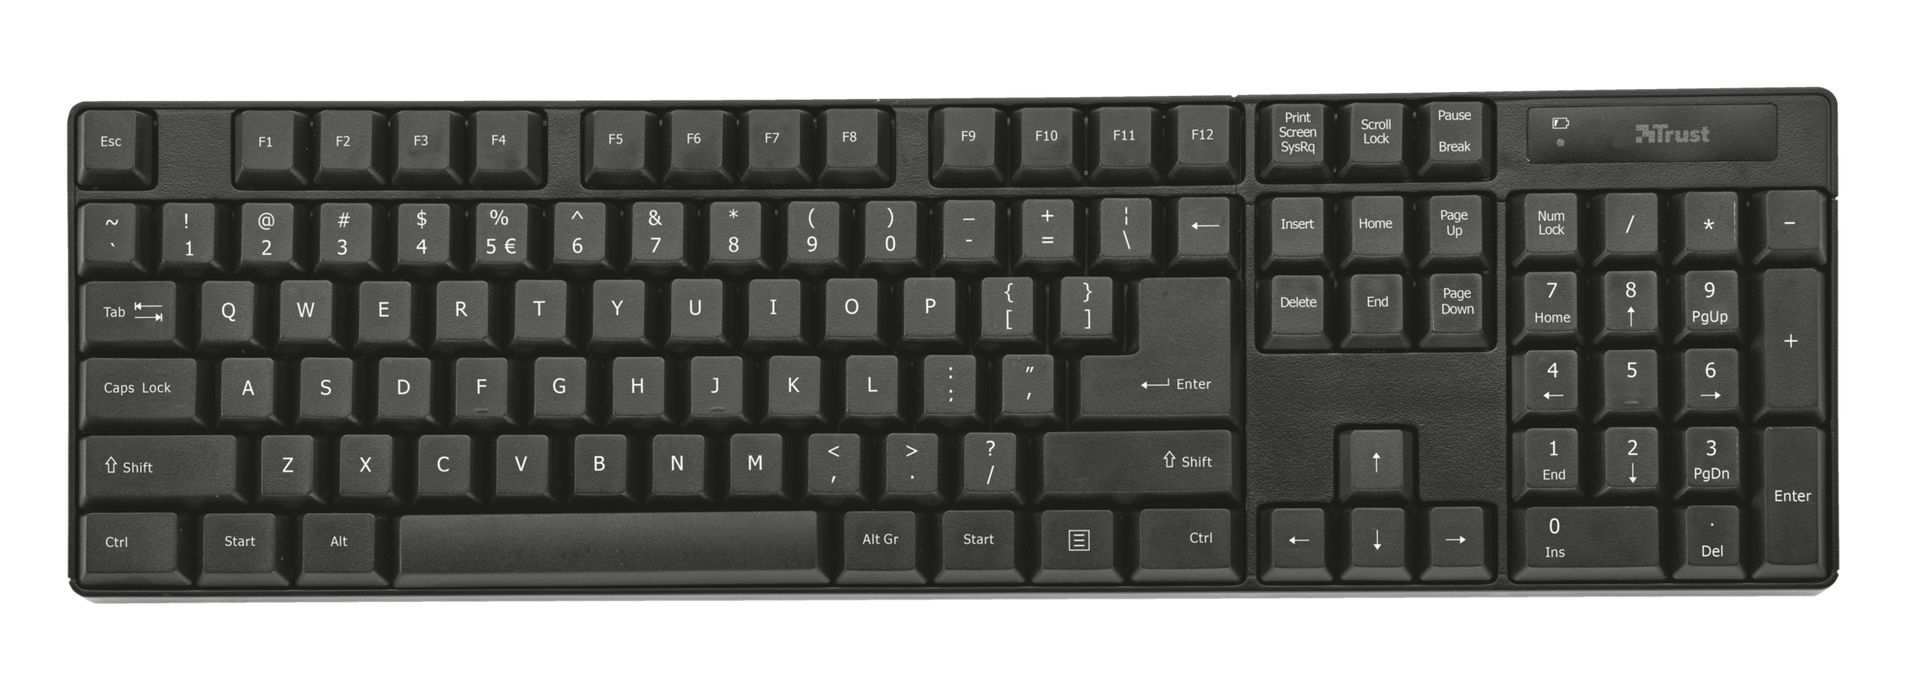
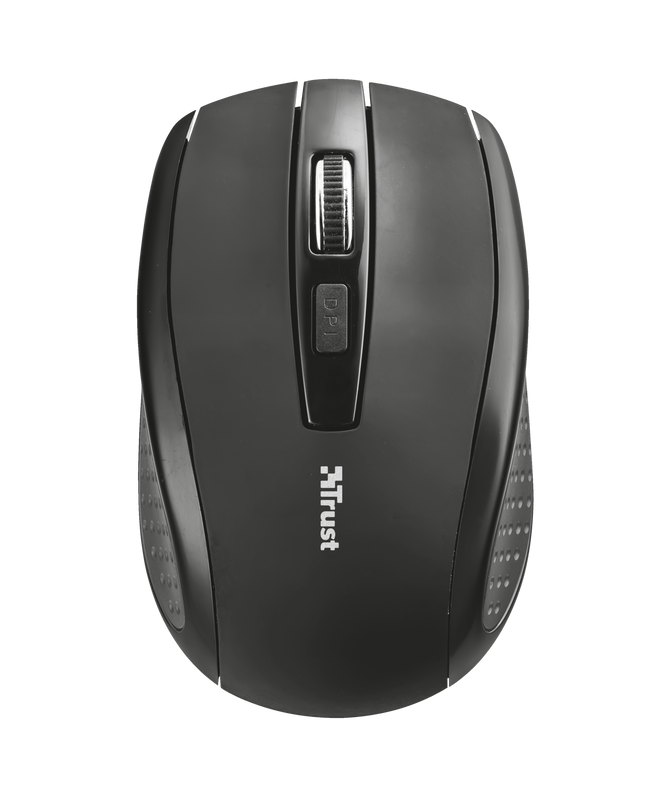
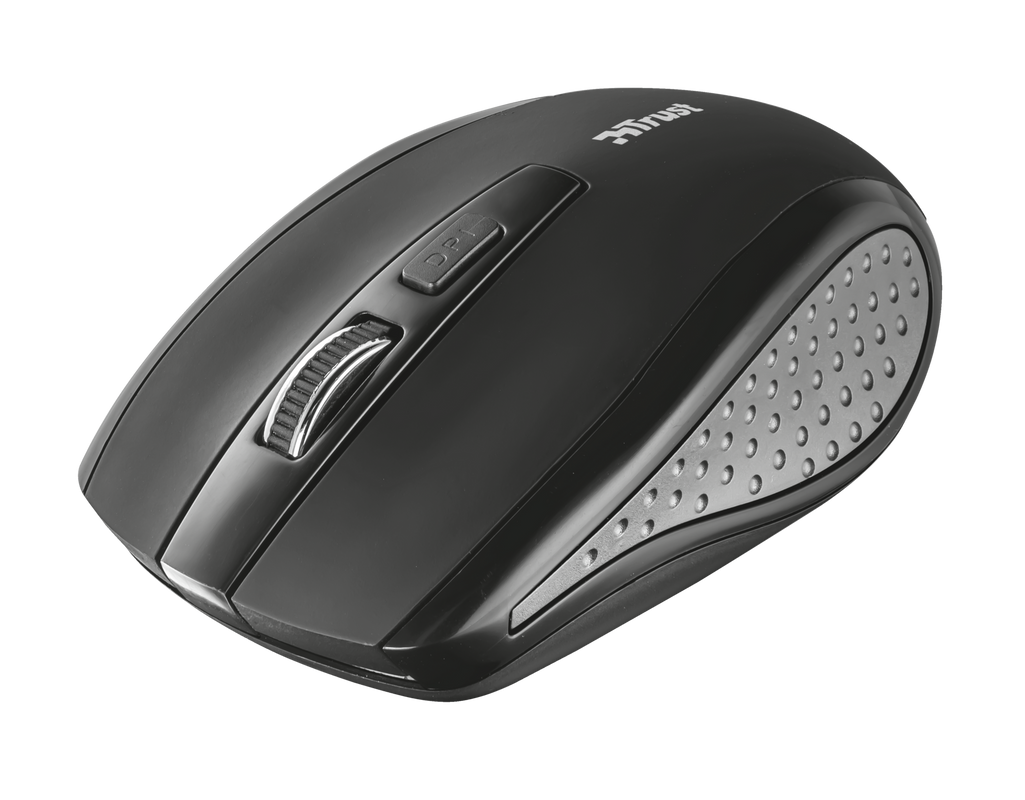
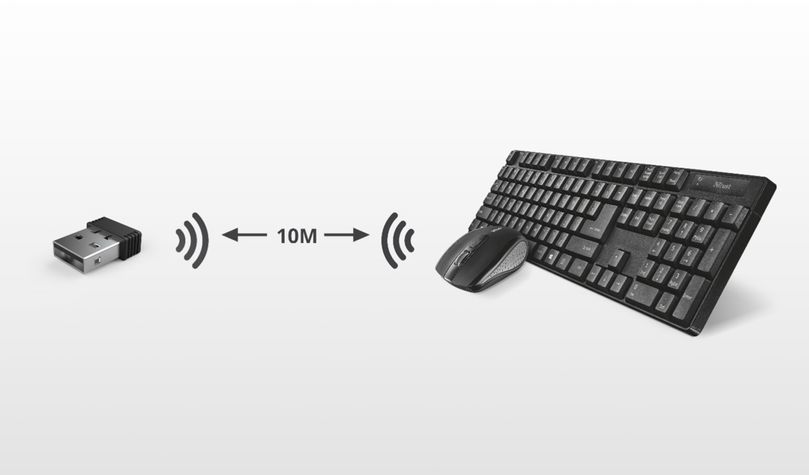
The Ximo Wireless Keyboard has a full-size layout with a comfortable keystroke. It comes with a USB Micro Receiver that has a wireless connection of up to 10m. What makes it extra convenient is that the included Ximo Wireless Mouse uses the exact same receiver, so you don’t have to use two different USB connections in your PC or laptop.
Webcam
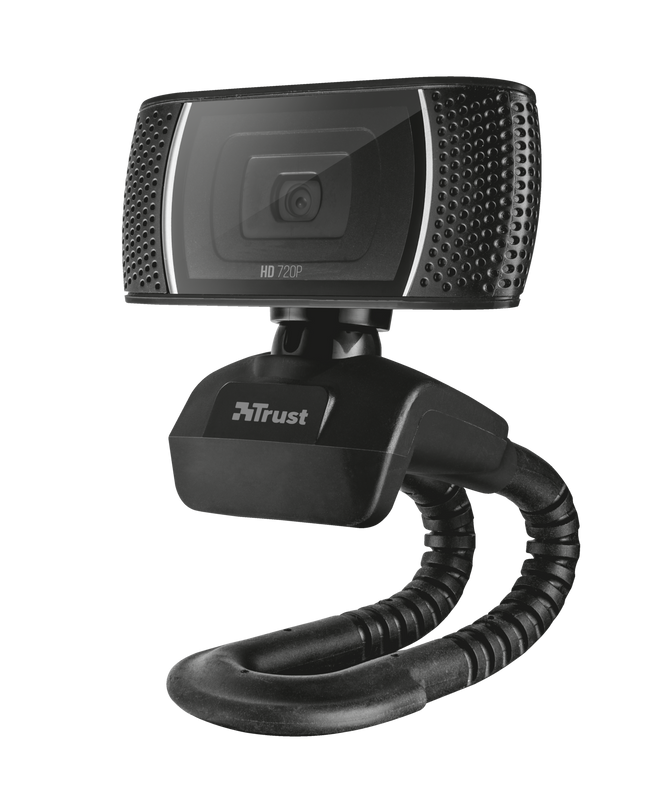
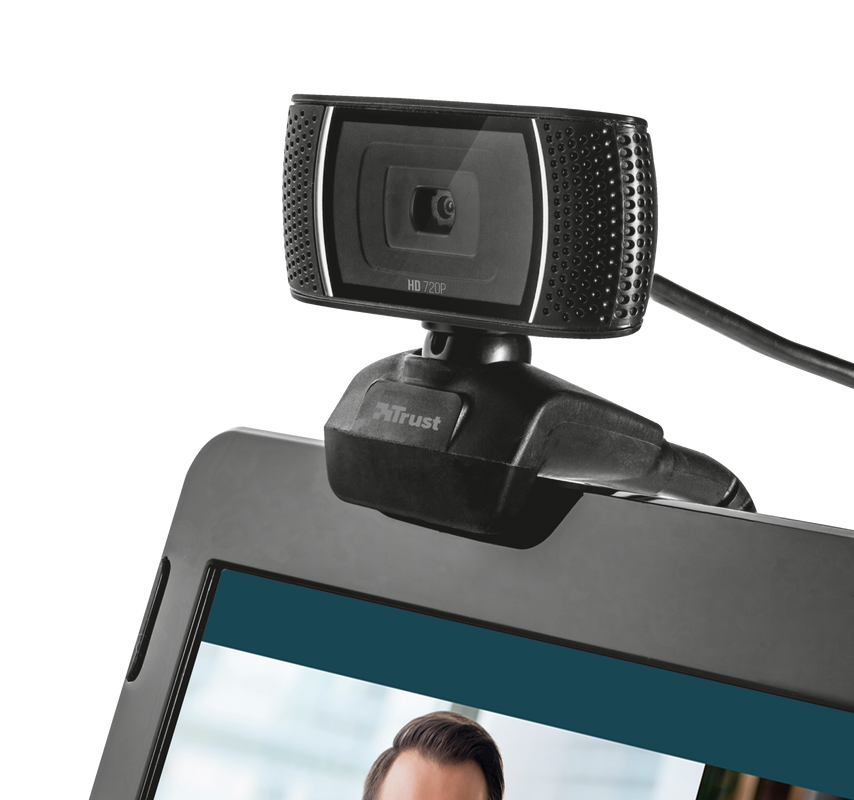
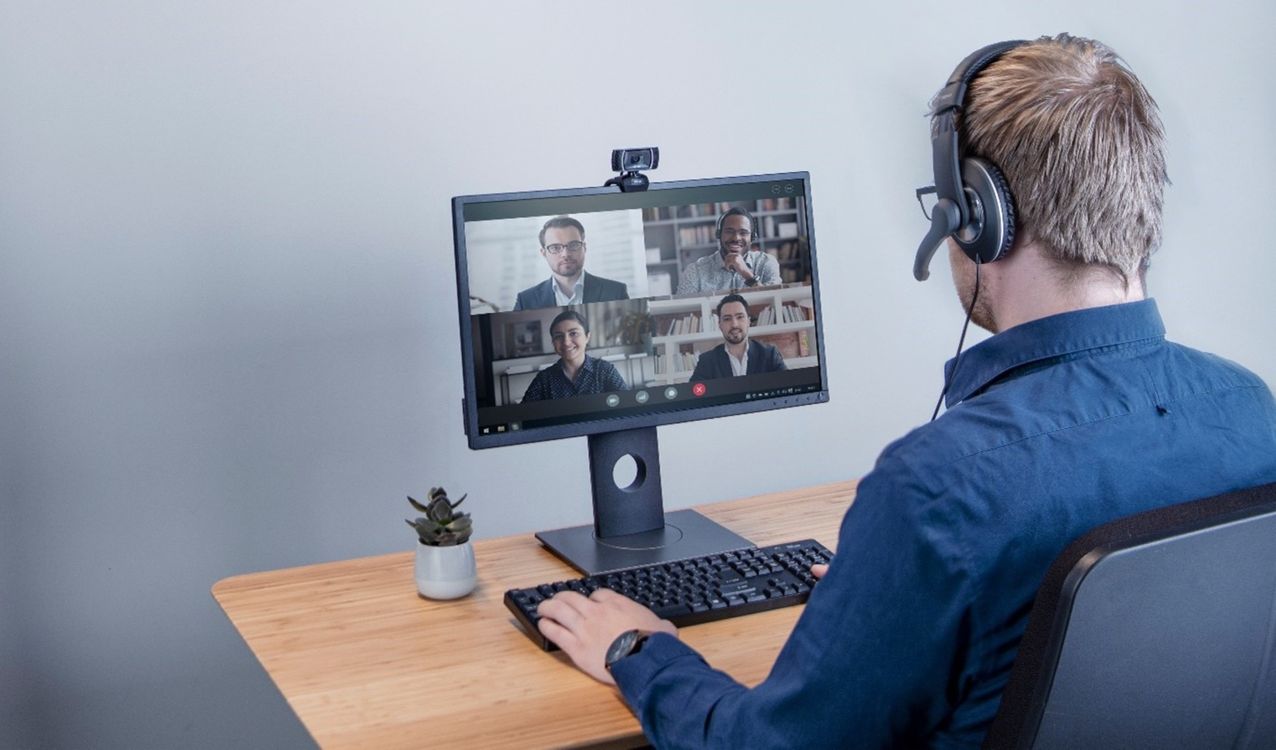
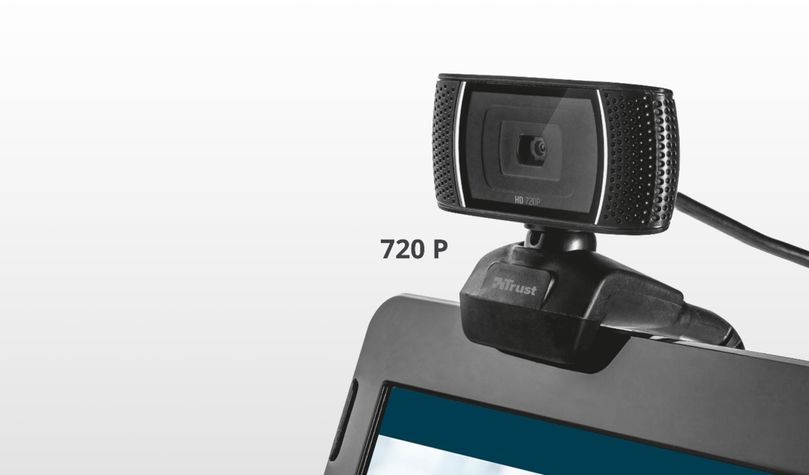
The Trino HD Webcam comes in handy during video calls. This 720p webcam uses an automatic white balance to create clear videos in any light condition. It comes with a handy stand to attach it to your monitor.
Headset
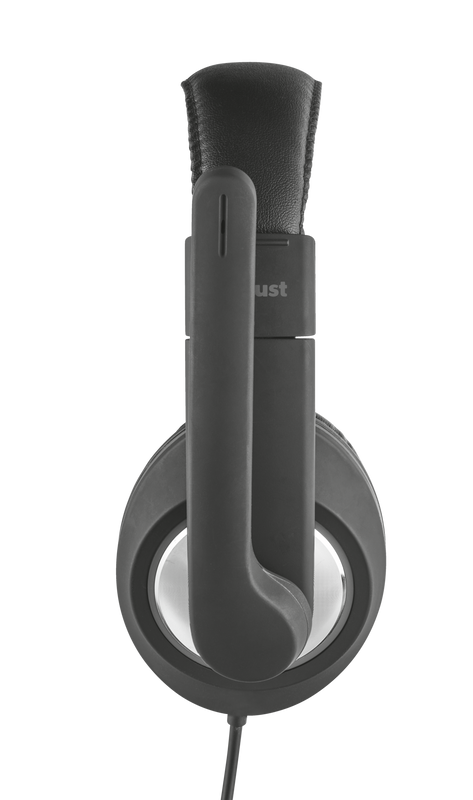
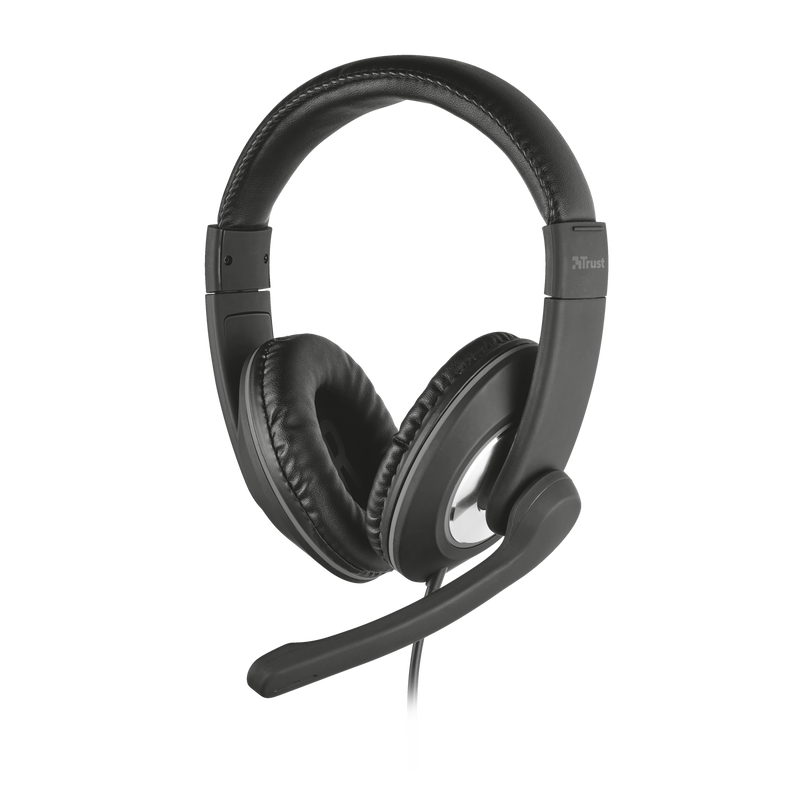
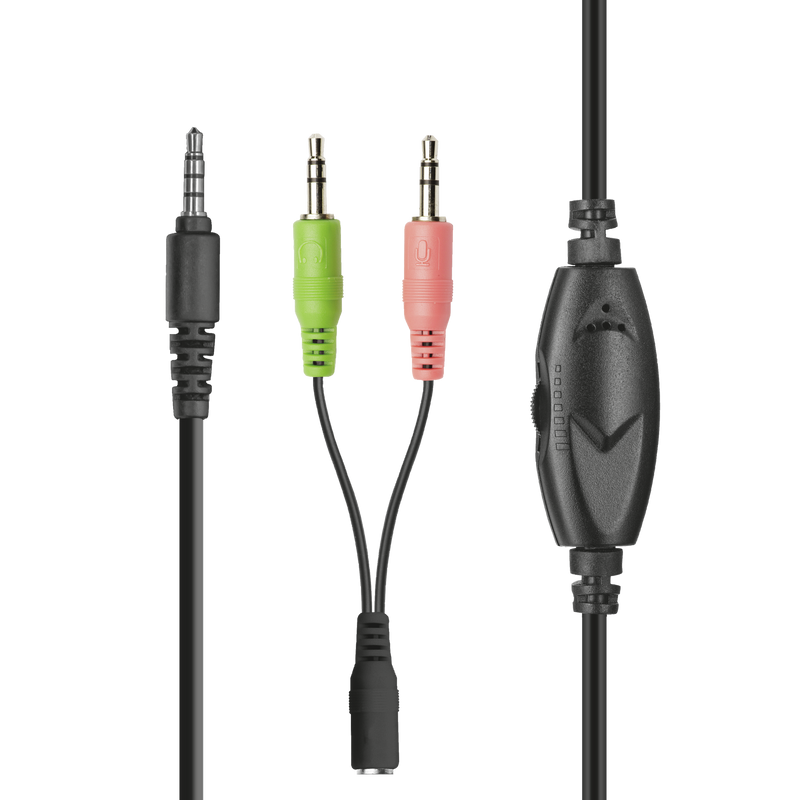
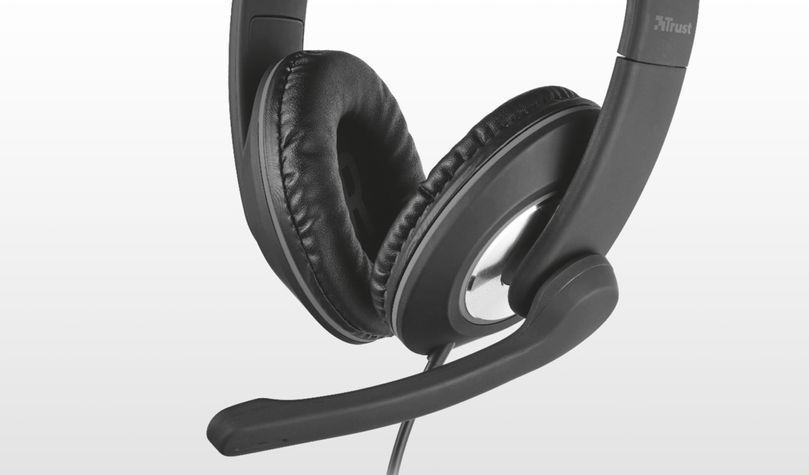
Thanks to the Reno headset you won’t have to worry about comfort when a meeting takes longer than planned. The thick ear cushions and adjustable headband provide enough comfort, even during the longest video calls, while the sensitive microphone makes sure you are heard when discussing business strategies.
Specificaties
Extra informatie
Toetsenbord
Muis
Webcam
Headset
Adapterkabel
Batterijen
USB-ontvanger
Gebruikershandleiding
Windows 10 of 11
macOS 10.15 (Catalina) of nieuwer*
Chrome OS*
1 USB-poort voor muis en toetsenbord
1 USB-poort voor webcam
3,5 mm-hoofdtelefoonaansluiting
3,5 mm-microfoonaansluiting
Of gecombineerde 3,5 mm-aansluiting voor hoofdtelefoon/microfoon
*Compatibiliteit kan per OS verschillen
Andere versies
EAN-code 8713439240436
EAN-code 8713439240429
EAN-code 8713439240412
EAN-code 8713439241075
EAN-code 8713439241051
EAN-code 8713439241037
EAN-code 8713439241280
EAN-code 8713439242812
Veelgestelde vragen (FAQ)
First doublecheck the batteries, then connect the receiver to the computer, and wait until Windows recognizes it and installs the built-in driver.
This might take a few moments. After which a pop-up screen is shown with "Device Setup > Installing device".
When this screen has disappeared the installation is finished and the product is ready for use.
De webcam werkt met de ingebouwde functionaliteit van de computer.
Installeren:
- Sluit de webcam aan op de computer
- In Windows 10: Zorg ervoor dat de microfoon is toegestaan in de microfoon Privacy-instellingen om te worden gebruikt door toepassingen
- Stel zowel de webcam als de microfoon in als standaard geluidsinvoer en geluidsuitvoerapparaat op de computer.
- De webcam is klaar voor gebruik.
Wanneer u de webcam gebruikt met een applicatie zoals Teams, Zoom, Skype, moet u de webcam en zijn microfoon ook instellen als standaard geluidsapparaat in de instellingen van die applicatie.
Voor extra functionaliteit (d.w.z. gebruik van de snapshot-knop) kan het bestand op de website worden gedownload en geïnstalleerd, maar dit is niet nodig voor normaal functioneren van de webcam.
This keyboard doesn't have caps-lock, num-lock and scroll-lock indicators. It has an indicator for low battery.
Door op de DPI-knop te drukken verander je de DPI.
Er is geen visuele indicatie voor de DPI-selectie, behalve dat de aanwijzersnelheid op het scherm sneller of langzamer zal zijn, afhankelijk van de geselecteerde DPI.
Volg de stappen op de pagina Muisinstellingen wijzigen
-
U kunt de snelheid van de muisaanwijzer/cursor aanpassen door te klikken op de DPI-schakelaar aan de bovenzijde van de muis.
-
Volg anders de stappen zoals vermeld op de pagina Muisinstellingen wijzigen.
Afhankelijk van de versie van uw muis, wordt de ontvanger in het product (onderkant) zelf of in het batterijcompartiment van de muis opgeborgen.
Helaas is het niet mogelijk om een nieuwe ontvanger te sturen, want tijdens productie wordt het apparaat gekoppeld aan de ontvanger met een unieke code. Het apparaat functioneert daarom alleen met de originele ontvanger, niet met een andere ontvanger.
We advise to doublecheck the batteries, then re-install the keyboard and mouse.
To re-install:
- Disconnect the receiver from the computer
- Restart the computer
- When the computer has fully restarted, connect the USB-receiver to the computer.
- Wait until Windows recognizes it and installs the built-in driver. This might take a few moments.
- After which a pop-up screen is shown with "Device Setup > Installing device".
- When this screen has disappeared the installation is finished and the product is ready for use.
Als uw toetsenbord niet de juiste tekens typt, is de verkeerde invoertaal mogelijk geselecteerd.
Controleer de taalvoorkeurinstellingen van uw systeem. Als de juiste taal niet aanwezig is, voeg deze taal dan toe aan het systeem.
Als u meer dan één taal op uw systeem gebruikt, zorg er dan voor dat u de juiste selecteert.
Stel de juiste taal in zoals wordt uitgelegd op de pagina Hoe uw toetsenbordindeling te wijzigen
- Zorg ervoor dat de webcam correct is geïnstalleerd
- Bij gebruik van Windows 10: zorg ervoor dat de webcam (en indien van toepassing de microfoon) is toegestaan in de privacyinstellingen om door de toepassing te worden gebruikt
- Om de webcam met een programma te gebruiken, raden we u aan om de Trust webcam te selecteren als het standaard video- en audio-opnameapparaat in het configuratiemenu van de software waarmee u de webcam probeert te gebruiken.
- Raadpleeg voor meer informatie de gebruikersinformatie van de software of neem contact op met de fabrikant voor specifieke probleemoplossing, die meestal beschikbaar is via de website van de fabrikant.
-
Probeer de muis op een ander oppervlak te bewegen of gebruik een muismat.
-
Maak de sensor aan de onderzijde van de muis met een droge doek schoon.
-
Verbeter de draadloze prestaties.
- Remove the USB-receiver from the computer
- Remove the battery from the keyboard for at least 10 seconds.
- Restart the PC
- Insert the battery into the keyboard
- The red LED on the battery will light up briefly
- Press ESC + Q while this LED is lit.
- Now the LED should start flashing.
- Plug the USB-receiver into the PC within 5 seconds and wait until the LED stops blinking.
- The keyboard is now connected again.
Trust heeft geen Service Centra aangezien onze defecte producten niet worden gerepareerd, maar direct door de winkelier worden omgeruild in de garantieperiode.
Wij hebben een 'return to retailer' garantie.
Dit betekent dat je, wanneer het product in garantie is, terug kan met product en aankoopbewijs naar de winkel/webshop en het product kan omruilen voor een nieuw exemplaar.
De volledige garantievoorwaarden kan je raadplegen op:
https://www.trust.com/support/warranty
Neem contact op
Neem contact op
Kijk eerst bij onze FAQ's, de kans is groot dat u het antwoord daar vindt.
Kunt u het antwoord niet vinden in de FAQ? Vul het onderstaande formulier in met zoveel mogelijk informatie en een van onze medewerkers zal zo snel mogelijk reageren. Onze berichten worden beantwoord in de volgorde waarin ze ontvangen zijn.
Na het versturen van het formulier wordt een bevestiging weergegeven met uw referentienummer. De bevestiging zal tegelijkertijd naar uw e-mailadres worden verzonden. Als u het bevestigingsbericht niet hebt ontvangen in uw mail, controleert u alstublieft uw spam- of junk-mailmap. Vindt u het bericht ook daar niet terug, stuurt u dan het formulier nogmaals, met uw correcte e-mail adres.
