Resounding Victories
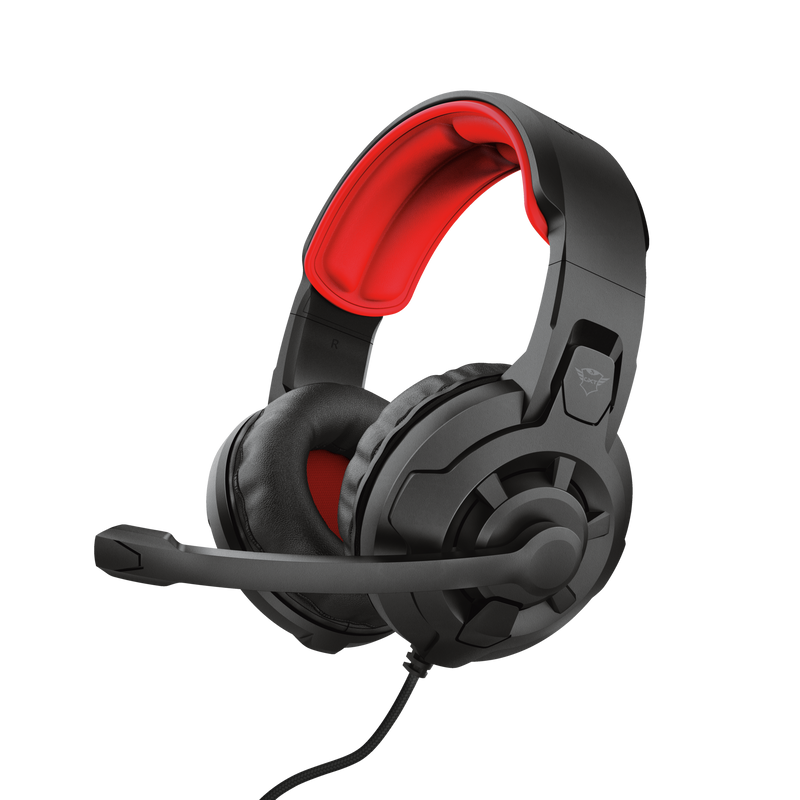
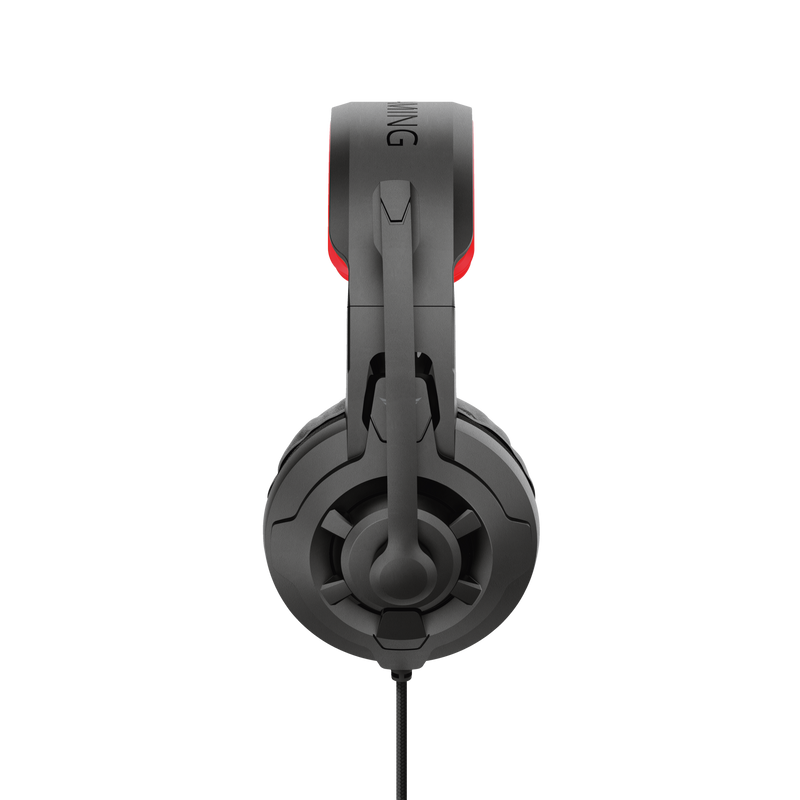
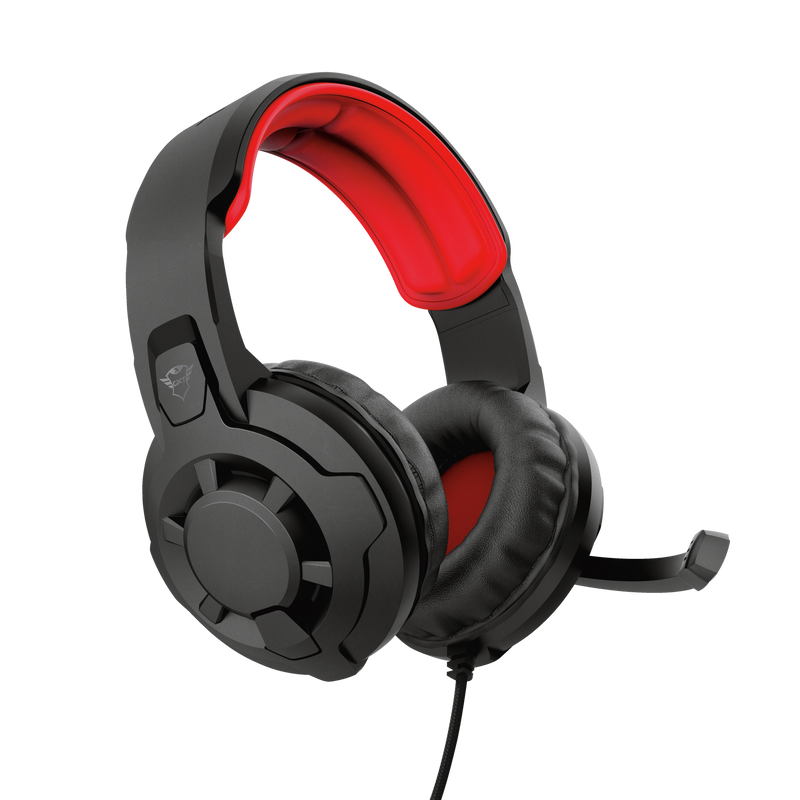
The Trust GXT 411 Radius Gaming Headset is your gateway into the roaring realm of gaming. It features clear, detailed and immersive audio to up your gaming experience. Whether you connect your headset to your PC, laptop, console or smartphone, you’re on your way to resounding victories!

Key features
Immersive Experience
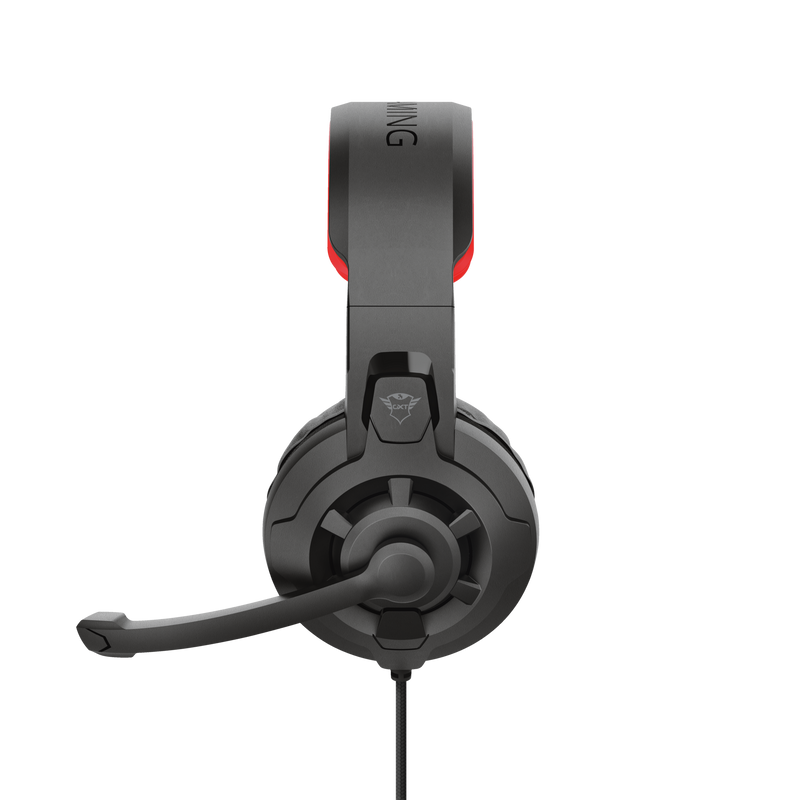
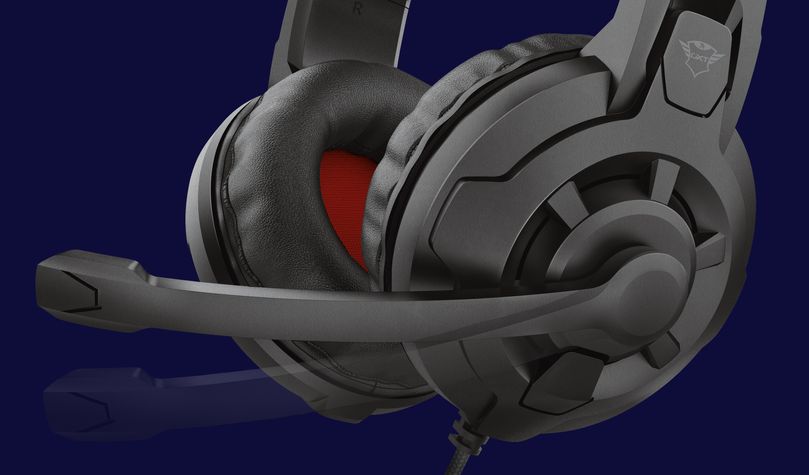
The Radius headset will allow you and your team to reach your full potential. It’s equipped with 40mm active speaker units to transmit every detail directly, so you can talk with your teammates as if they were all in the same room as you. The clear sound of the adjustable microphone makes sure your plans won’t be thwarted by miscommunication anymore.
Endless Comfort
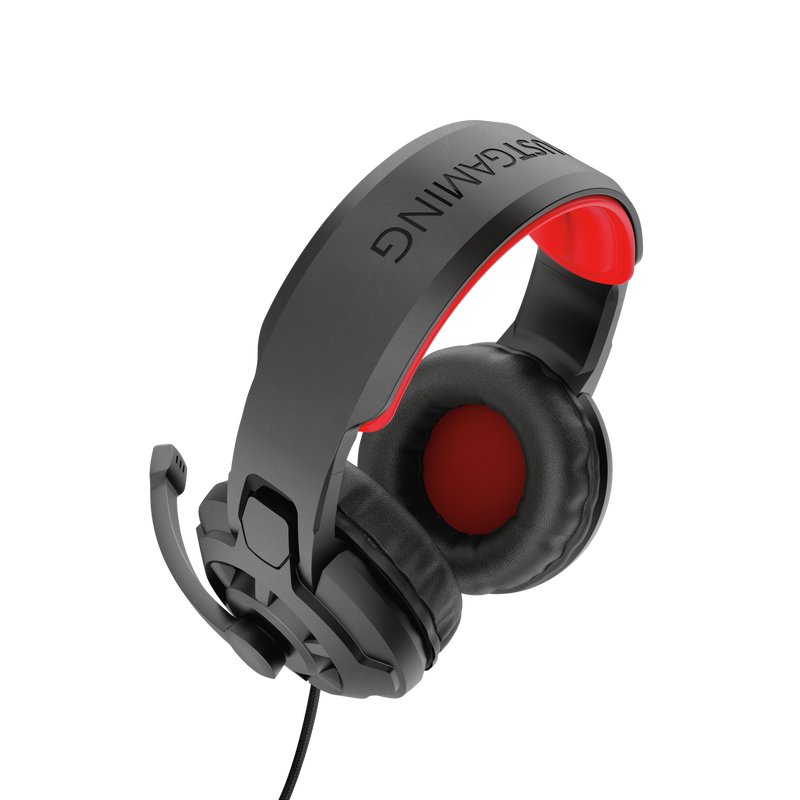
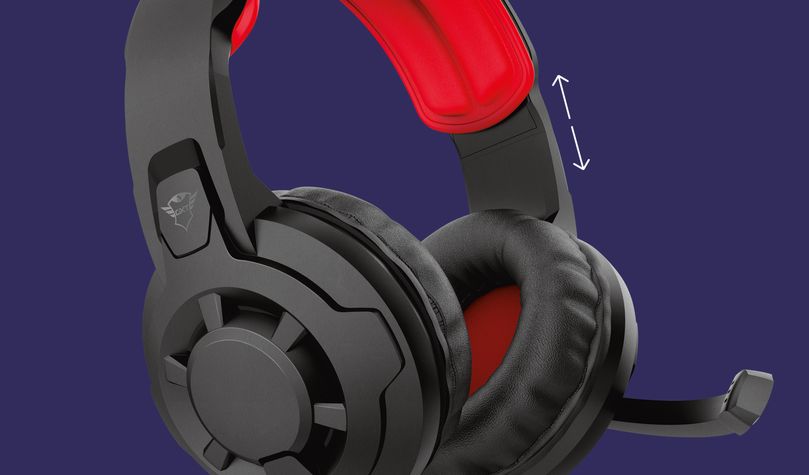
The soft and comfortable over-ear pads, combined with the adjustable microphone and headband, give you the comfort you need for those prolonged gaming sessions. There’s no stopping you and your teammates now.
Multiplatform Connectivity
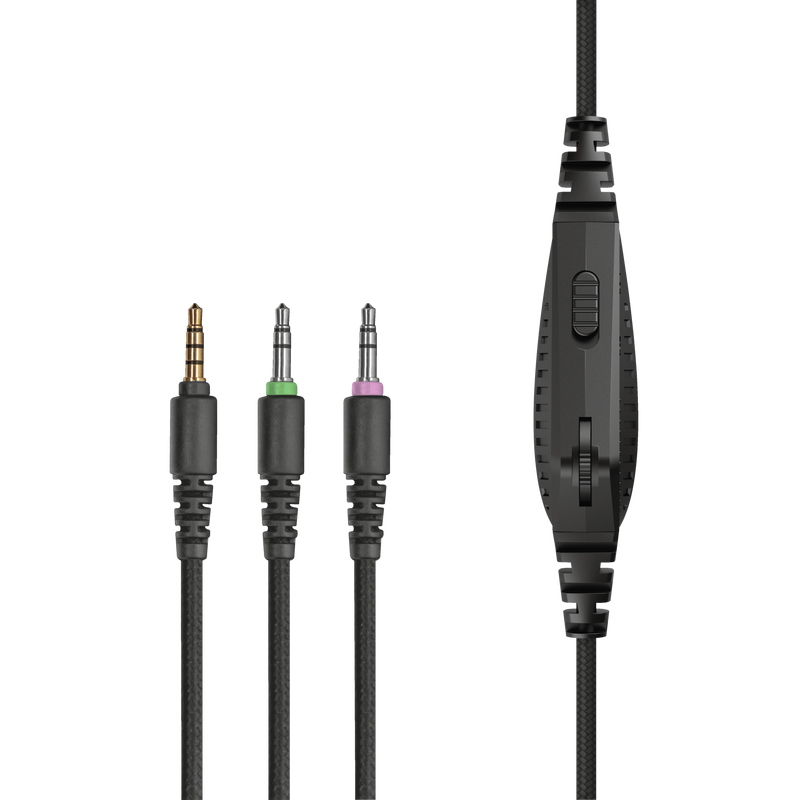
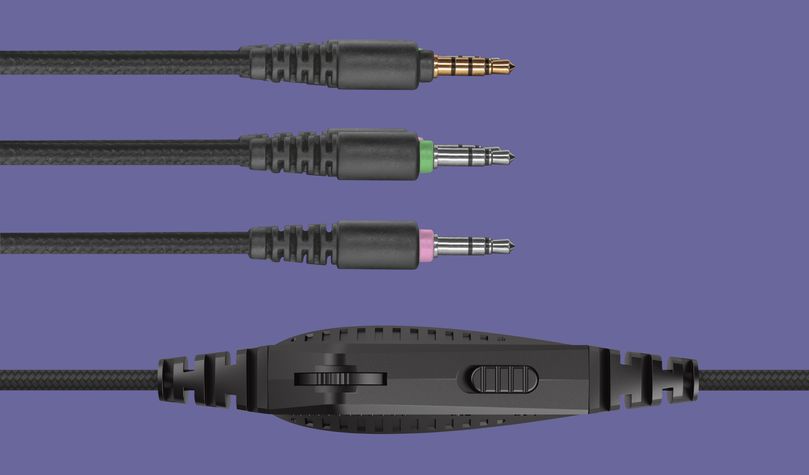
With its multiplatform design, you can use the Radius with your preferred device. Simply connect the headset to your console via the 1m aux cable or use the 1m extension cable for a plug-and-play connection with your desktop, laptop or smartphone.
Specifications
Features
Size & Weight
Control
Connectivity
Audio
Headphone
Microphone
Gaming
Lighting
Protection
Compatibility
Extra information
Headset
PC adapter cable (Y-cable)
50cm extra extension cable
User guide
3.5mm headphone connection and 3.5mm microphone connection
OR combined 3.5mm headphone/microphone connection
OR console gamepad with 3.5mm jack connection
Downloads
Legal & Compliance information
Version 1.0 | Multilingual
Legal & Compliance information
EU declaration of conformity (DoC)
Version 1.0 | Multilingual
EU declaration of conformity (DoC)
Frequently Asked Questions (FAQ)
This instruction video applies to all our gaming headsets with 3.5mm jack connector type
To install:
- Connect the headset to the audio connection of your device.
Note: If your computer has 2 separate audio connections, use the included adapter.
- Use the inline remote to switch the microphone on, and to set the volume higher.
- On Windows 10: verify that the microphone is allowed to be used by applications in the Privacy Settings.
- Set the headset as the default device, for both input and output in the sound/audio settings.
- The headset is ready to use.
If you are experiencing audio issues on your Dell computer, make sure to install the latest audio drivers for your computer from the Dell website at https://www.dell.com/support/home/en-us?app=drivers
After you have installed the Dell software and drivers for your computer setup the software correctly to activate the audio devices:
1. Go to the Windows Start Menu and open the Dell Optimizer software.
2. Click the Audio button.
3. Toggle the Switch to ENABLED.
4. Toggle the NOTIFICATIONS on.
5. Disable the Audio page and close the application.
6. When plugin the microphone, headset or headphones, the Optimizer will notify that a device is connected to the audio port. Select the correct device that is attached in the Optimizer option menu.
If this does not solve your problem, contact the Dell support or your system administrator.
We recommend to reinstall the headset:
- Make sure the computer is fully updated via Windows Update
- Unplug the headset.
- Restart the PC.
- When Windows has completely restarted, connect the headset to the computer.
- Check in the microphone privacy settings that the microphone is authorized to be used by applications / software.
- Select the headset and its microphone as the default audio device on your computer in the Windows audio/sound settings.
- Verify that the microphone is not disabled in the audio/sound settings.
First we would recommend to test the headset with another device, e.g. your computer, and see if it works correctly on the other device.
If it works correctly on another device, check the PS4 settings
- Go to the PS4 Settings > Devices > Audio Devices.
- Click Input Device and select Headset Connected to Controller.
- Click Output Device and select Headset Connected to Controller.
- Click Volume Control (Headphones), and set the level to maximum.
- Click Output to Headphones, and select All Audio.
- Click Adjust Microphone Level, then follow the wizard to calibrate your microphone.
If the microphone can be detected on the Adjust Microphone Level screen, then the headset and microphone are working with the PS4 properly.
First make sure the headset is connected correctly to the computer.
- Without the adapter; when your computer has a combined audio port.
- With the adapter; if your computer has 2 separate audio ports.
Then make sure that both the headset and the microphone are selected as the default audio device (input and output) on the computer.
Make sure that:
- the headset is plugged into the Switch’s headset jack
- all voice chat options both in-game and in the system settings are "on".
- the game supports in-game chat capability
If the microphone functions in other applications, we advise to check the Microphone Privacy settings for Teams.
- Click on Start and select Setting.
- Select the Privacy option.
- From the left pane, scroll down to App Permission and click on Microphone.
- Scroll down to “Allow desktop apps to access your microphone” section.
- From the list, enable microphone access for Microsoft Teams.
- Launch Microsoft Teams and check if the client recognizes the microphone.
In case the microphone is already enabled for Microsoft Teams, revoke the access. Reboot the computer and enable microphone for Microsoft Teams again.
We recommend to check the following:
- Microphone privacy settings: Check if the microphone allows apps to access the microphone
- Default device: Check if the microphone has been selected as the default sound input device on the computer
- Windows Update: Check if Windows is up-to-date via Windows Update
Try the product on another device, does the microphone function on another device?
Unfortunately, we do not have service centers to repair products.
A defective product should be replaced by your point of purchase during the warranty period.
We offer a 'return to retailer' warranty on our products. In case of a defect, you can return the product to your retailer with failure description, proof of purchase and all accessories. During the warranty period you will receive a replacement product from the retailer if available. For full warranty conditions you can consult: https://www.trust.com/support/warranty
Contact us
Contact us
Please check our FAQs first, chances are you'll find the answer there.
Couldn't find the answer in the FAQs? Fill out the form below with as much information as possible and one of our help-desk staff will respond at the earliest opportunity. Our messages are answered in the order they are received.
After submitting the form a confirmation message will be displayed with your reference number. The confirmation will be sent to your email address at the same time as well. If you have not received the confirmation message, please check your spam or junk mail folder. Otherwise, fill out the form again with your correct e-mail address.
