4-in-1 Home Office Set
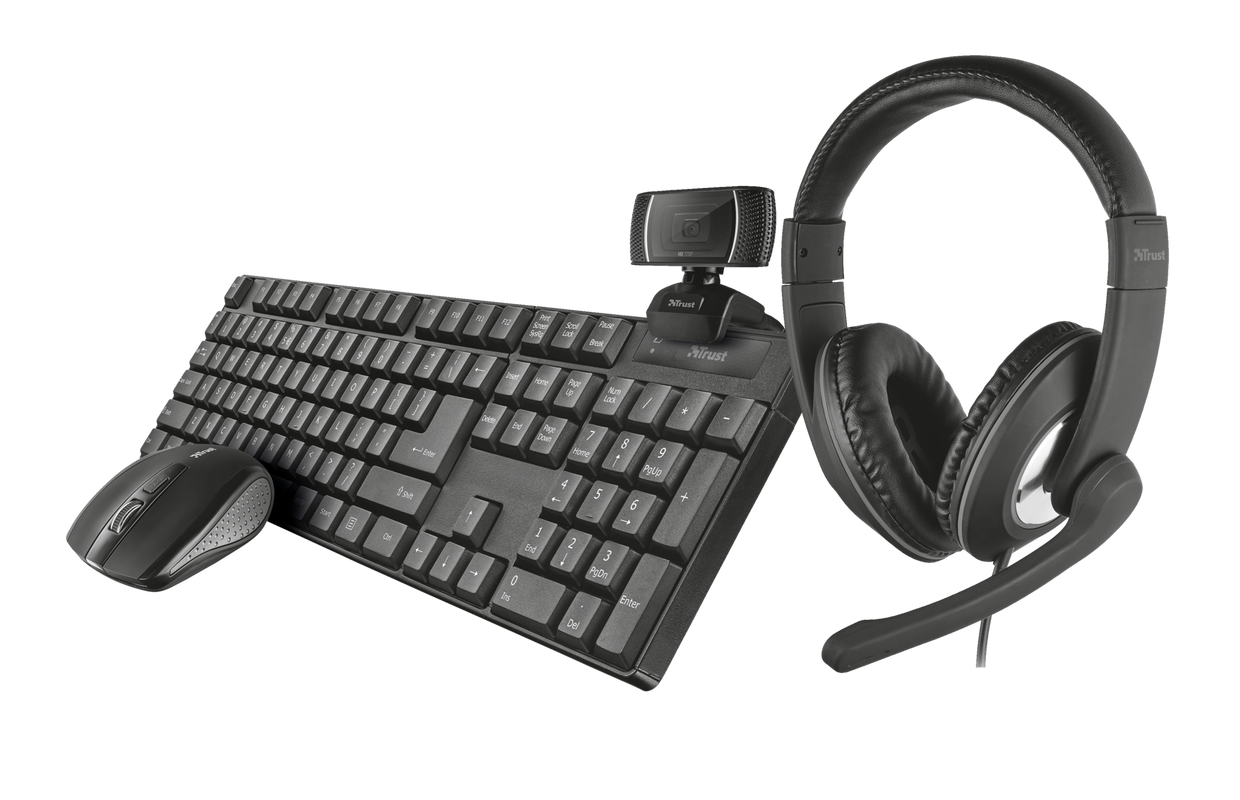
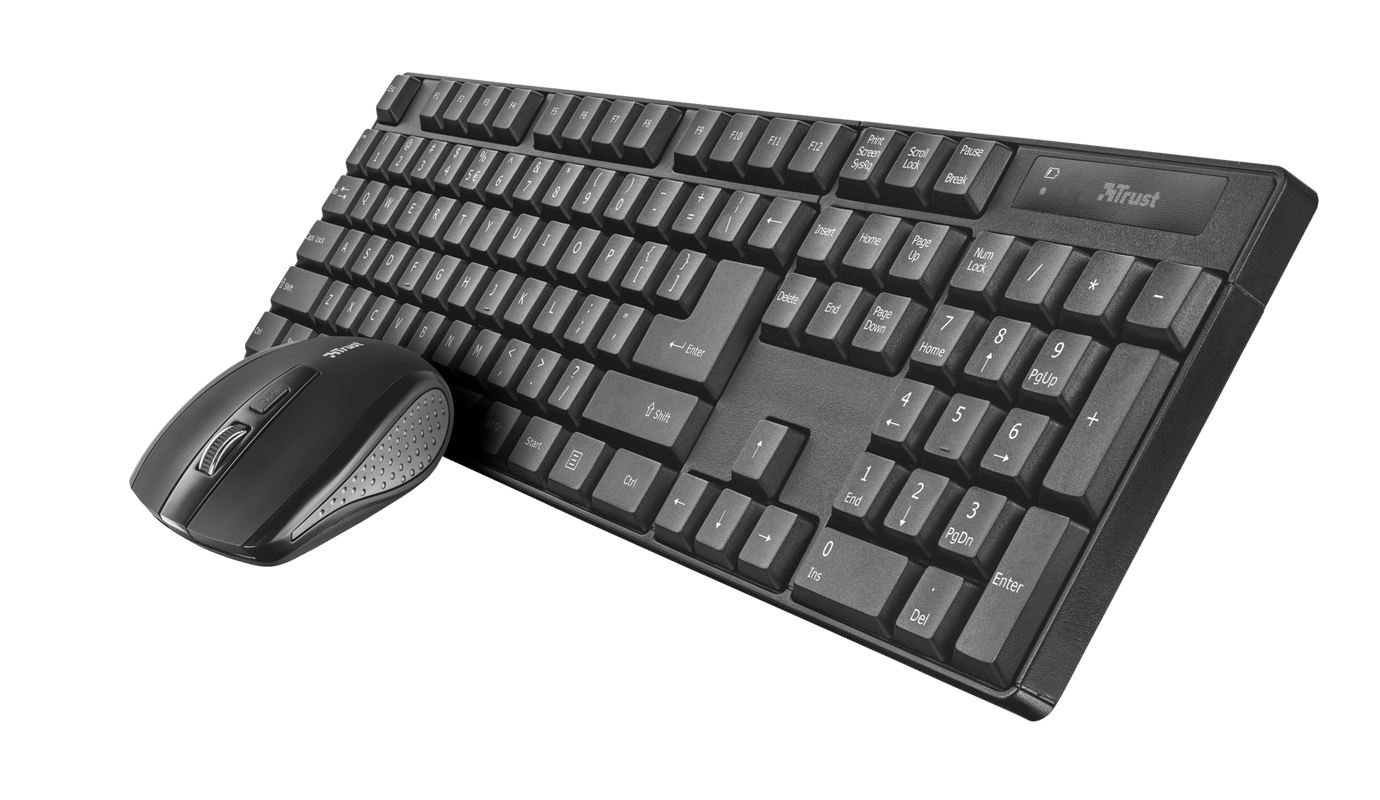
4-in-1 Home office set: includes wireless keyboard, wireless compact mouse, HD webcam and over-ear headset
Complete Set
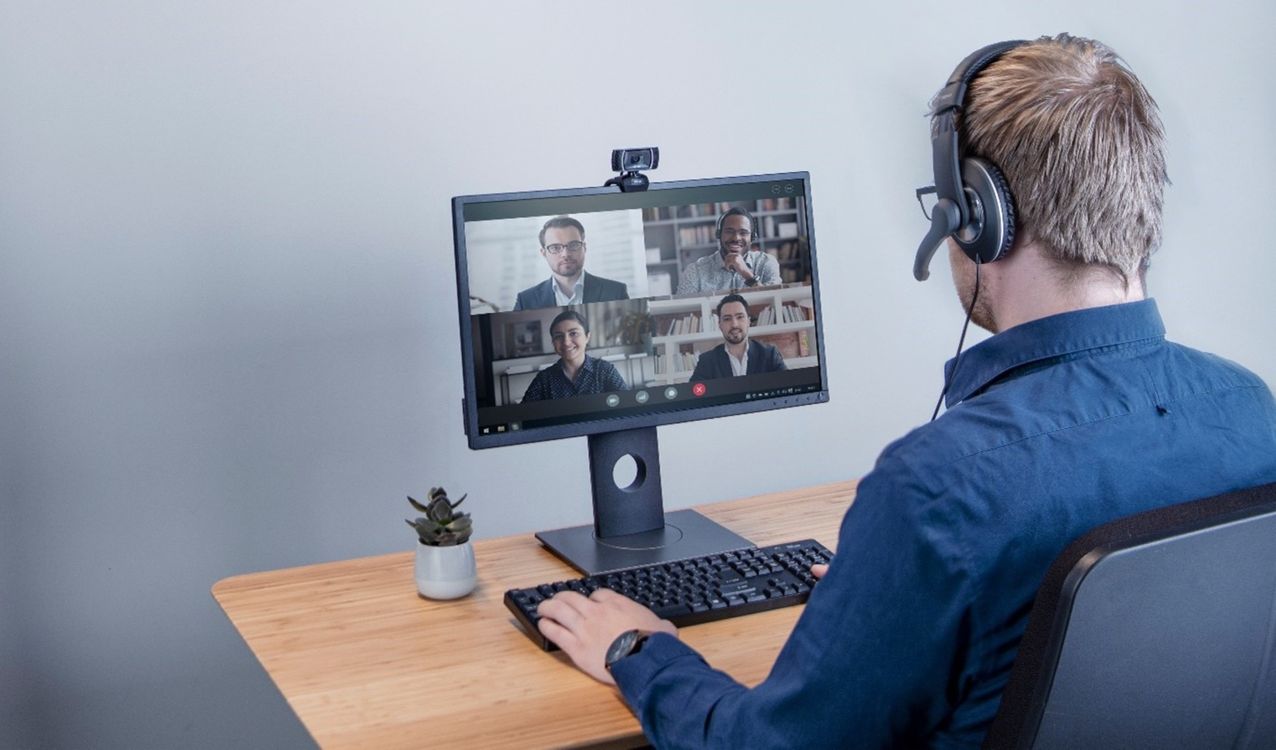
With the Trust Qobi 4-in-1 Home Office Set you have everything you need for a seamless work-from-home experience. This set includes the Trino HD Webcam, the Reno Headset and the Ximo Wireless Keyboard and Mouse Set. Four items that will make working from home a breeze.
Key features
Wireless Keyboard and Mouse
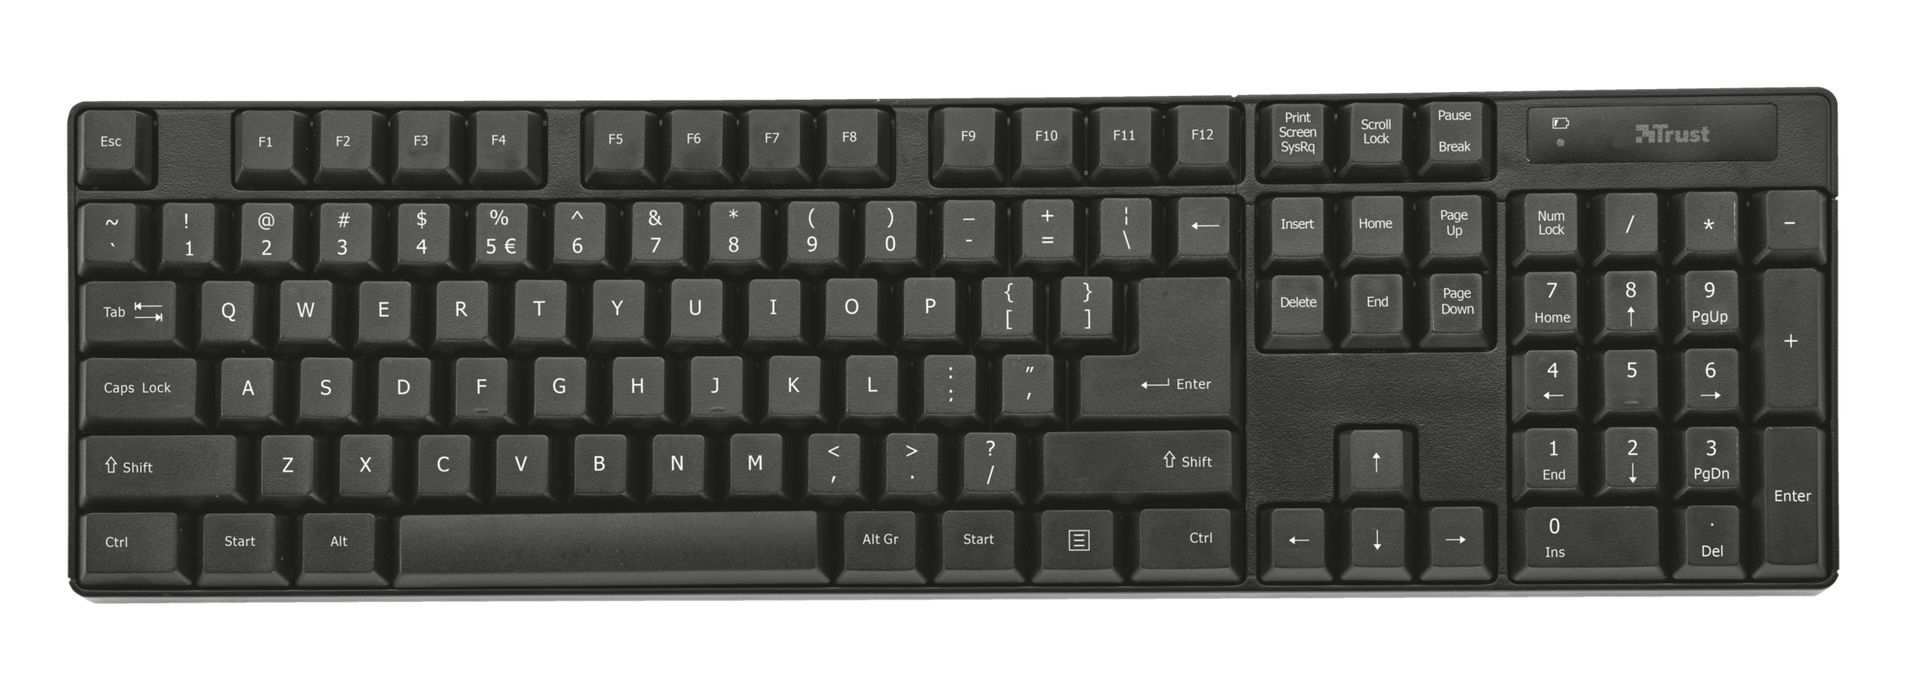
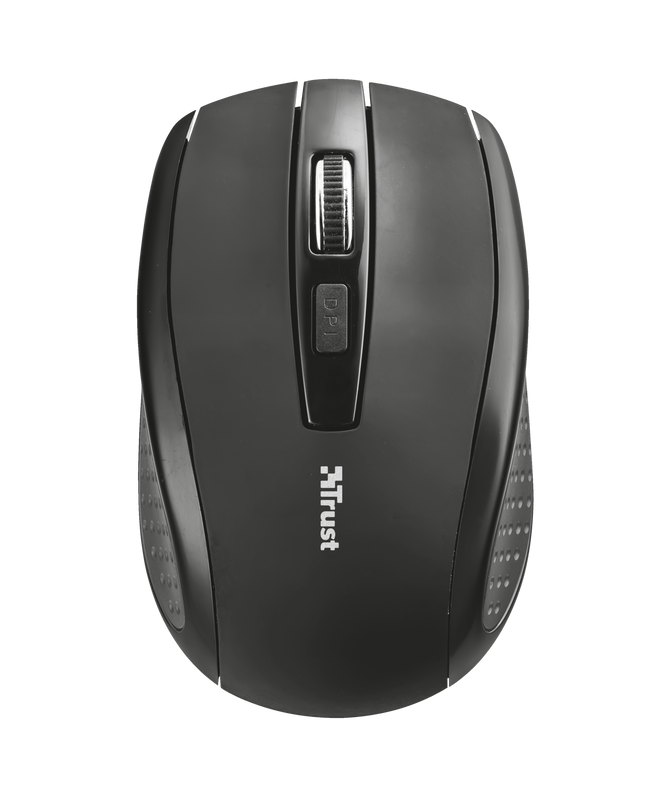
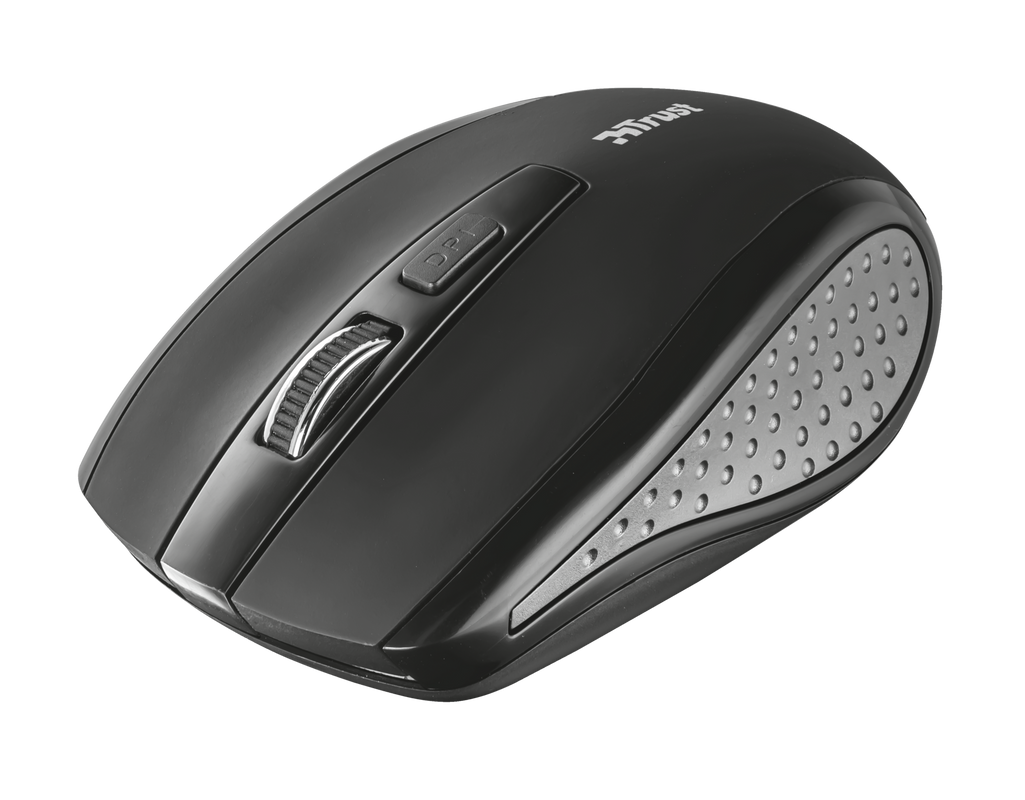
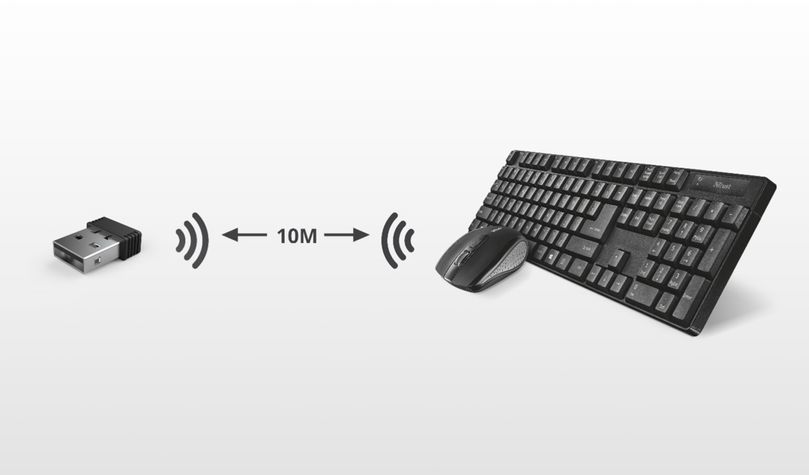
The Ximo Wireless Keyboard has a full-size layout with a comfortable keystroke. It comes with a USB Micro Receiver that has a wireless connection of up to 10m. What makes it extra convenient is that the included Ximo Wireless Mouse uses the exact same receiver, so you don’t have to use two different USB connections in your PC or laptop.
Webcam
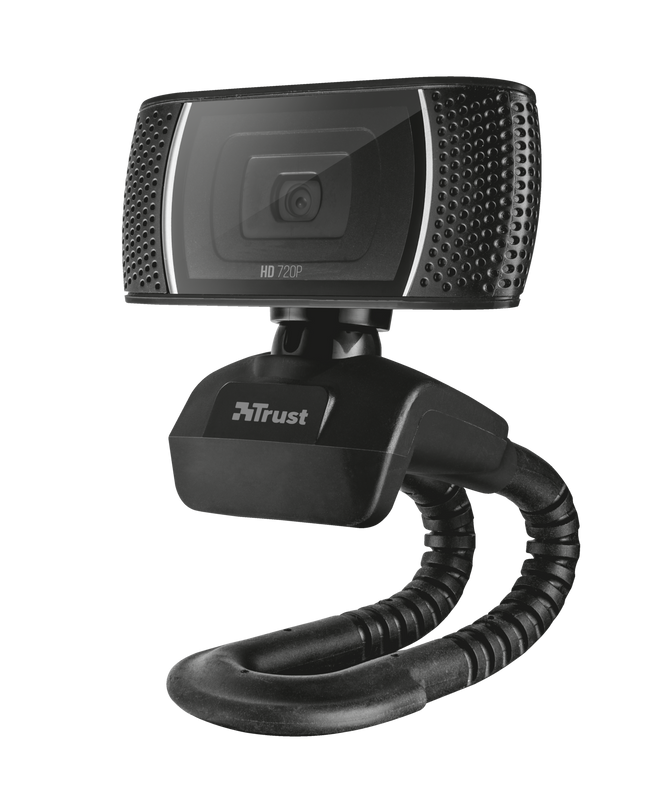
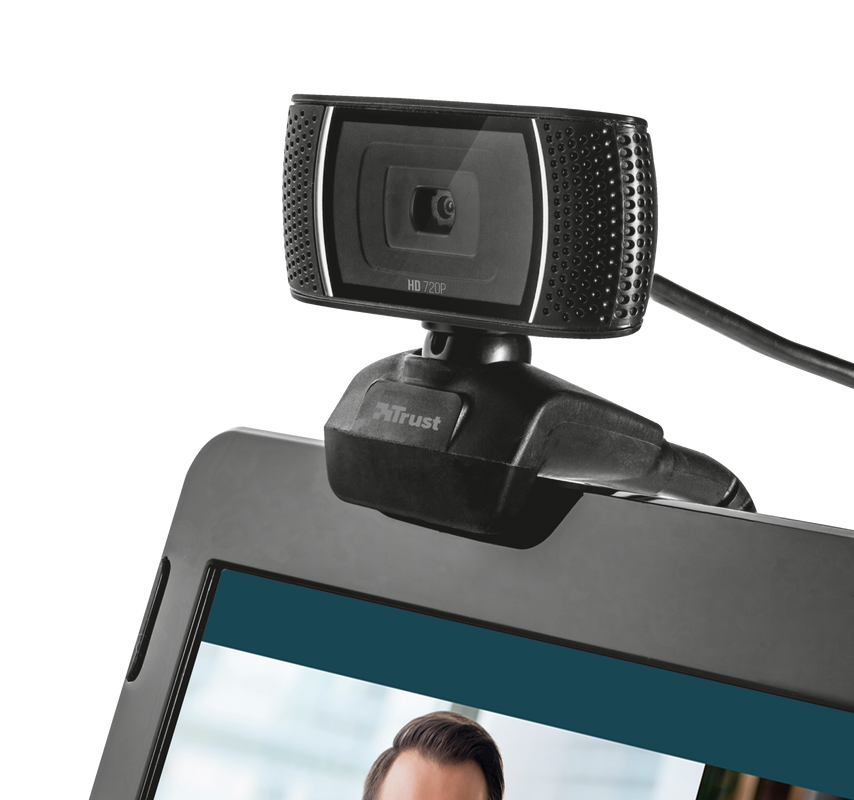
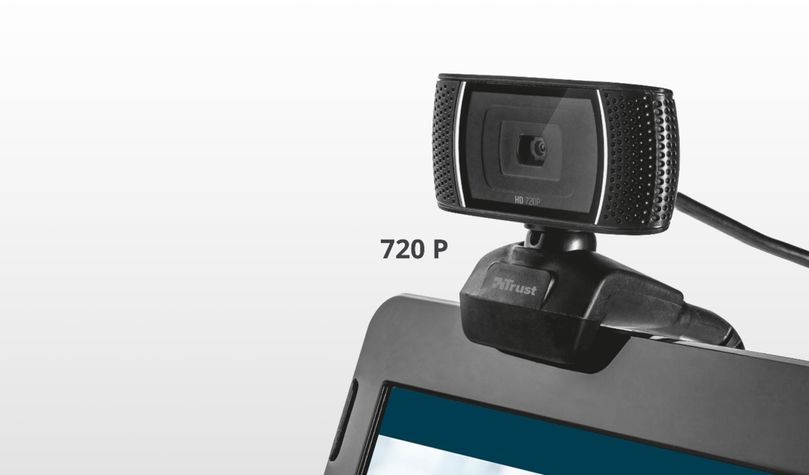
The Trino HD Webcam comes in handy during video calls. This 720p webcam uses an automatic white balance to create clear videos in any light condition. It comes with a handy stand to attach it to your monitor.
Headset
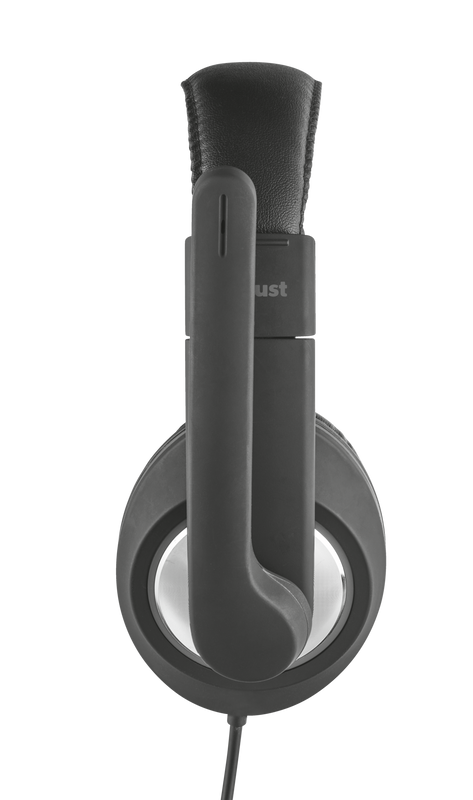
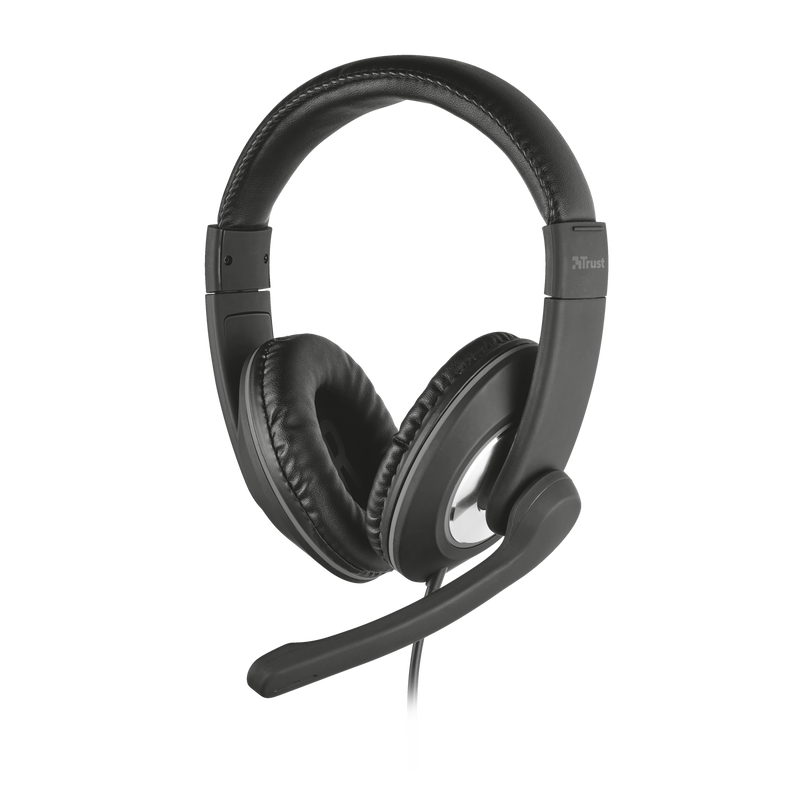
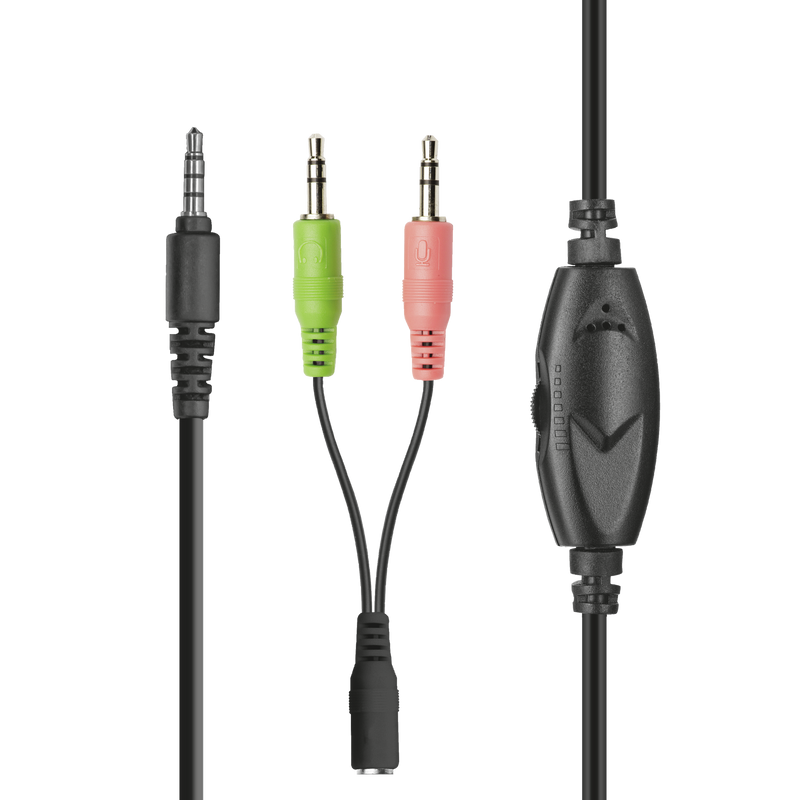
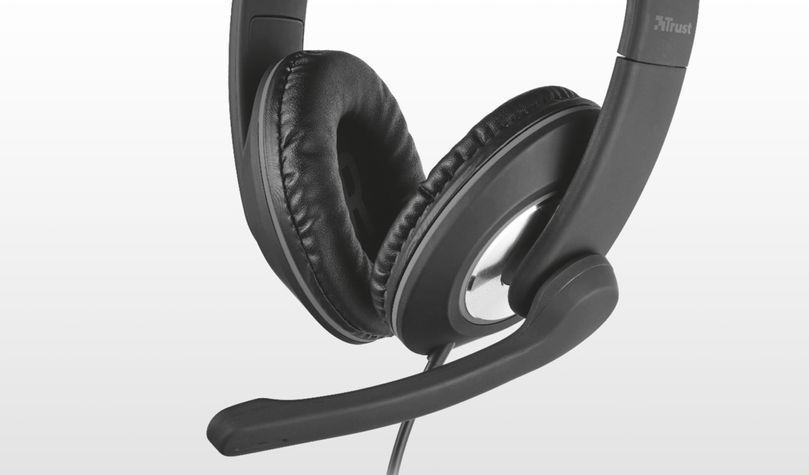
Thanks to the Reno headset you won’t have to worry about comfort when a meeting takes longer than planned. The thick ear cushions and adjustable headband provide enough comfort, even during the longest video calls, while the sensitive microphone makes sure you are heard when discussing business strategies.
Specifications
Extra information
Keyboard
Mouse
Webcam
Headset
Adapter cable
Batteries
USB Receiver
User guide
Windows 10 or 11
macOS 10.15 (Catalina) or higher*
Chrome OS*
1 USB port for mouse + keyboard
1 USB port for webcam
3.5 mm headphone connection
3.5 mm microphone connection
Or combined 3.5 mm headphone/microphone connection
*Compatibility may vary between OS
Other versions
EAN code 8713439240436
EAN code 8713439240429
EAN code 8713439240412
EAN code 8713439241075
EAN code 8713439241051
EAN code 8713439241037
EAN code 8713439241280
EAN code 8713439242812
Frequently Asked Questions (FAQ)
First doublecheck the batteries, then connect the receiver to the computer, and wait until Windows recognizes it and installs the built-in driver.
This might take a few moments. After which a pop-up screen is shown with "Device Setup > Installing device".
When this screen has disappeared the installation is finished and the product is ready for use.
The webcam functions with the built-in functionality of the computer.
To install
- Connect the webcam to the computer
- On Windows 10: Make sure the microphone is allowed in the Microphone Privacy settings to be used by applications.
- Set both the webcam and its microphone as the default sound input and sound output device on the computer.
- The webcam is ready to use.
When you use the webcam with an application such as Teams, Zoom, Skype, you have to set the webcam and its microphone as the default sound device in the settings of that application too.
For extra functionality (i.e. use of the snap shot button) the file on the website can be downloaded and installed, however this is not needed for normal functioning of the webcam.
This keyboard doesn't have caps-lock, num-lock and scroll-lock indicators. It has an indicator for low battery.
By pressing the DPI-button you will change the DPI.
There is no visual indication for the DPI selection, other than that the pointer speed on the screen will be faster or slower, depending on the DPI that is selected.
Follow the steps in the mouse settings page
-
Mouse arrow/cursor speed can be adjusted by clicking the DPI switch on the topside of the mouse.
-
Alternatively, follow the steps in the mouse settings page
Depending on the version of your mouse, the receiver is stored either inside the product (bottom) itself, or inside the battery compartment of the mouse.
It's not possible to provide a replacement receiver for this product.
This is due to the fact that during production the product and receiver receive a unique code, so the product can only communicate with the bundled original receiver.
We advise to doublecheck the batteries, then re-install the keyboard and mouse.
To re-install:
- Disconnect the receiver from the computer
- Restart the computer
- When the computer has fully restarted, connect the USB-receiver to the computer.
- Wait until Windows recognizes it and installs the built-in driver. This might take a few moments.
- After which a pop-up screen is shown with "Device Setup > Installing device".
- When this screen has disappeared the installation is finished and the product is ready for use.
If your keyboard isn't typing the correct characters, you may have the incorrect input language selected.
Please check the language preference settings of your system. If the correct language is not present, add this language to the system.
If you use more than one language on your system, make sure to select the correct one.
Set the correct language as explained in the keyboard settings page
- Make sure that webcam has been correctly installed
- When using Windows 10: Make sure the webcam (and if applicable, its microphone) are allowed in the Privacy settings to be used by the application
- In order to use the webcam with a program, we would advise you to select the Trust webcam as the default video and audio recording device in the configuration menu from the software you are trying to use the webcam with.
- For more information, please refer to software’s user information or contact the manufacturer for specific troubleshooting, which is usually available via the website of the manufacturer.
-
Try using the mouse on a different surface or use a mousepad.
-
Clean the sensor on the bottom of the mouse with a dry cloth.
-
Improve wireless performance.
- Remove the USB-receiver from the computer
- Remove the battery from the keyboard for at least 10 seconds.
- Restart the PC
- Insert the battery into the keyboard
- The red LED on the battery will light up briefly
- Press ESC + Q while this LED is lit.
- Now the LED should start flashing.
- Plug the USB-receiver into the PC within 5 seconds and wait until the LED stops blinking.
- The keyboard is now connected again.
Unfortunately, we do not have service centers to repair products.
A defective product should be replaced by your point of purchase during the warranty period.
We offer a 'return to retailer' warranty on our products. In case of a defect, you can return the product to your retailer with failure description, proof of purchase and all accessories. During the warranty period you will receive a replacement product from the retailer if available. For full warranty conditions you can consult: https://www.trust.com/support/warranty
Contact us
Contact us
Please check our FAQs first, chances are you'll find the answer there.
Couldn't find the answer in the FAQs? Fill out the form below with as much information as possible and one of our help-desk staff will respond at the earliest opportunity. Our messages are answered in the order they are received.
After submitting the form a confirmation message will be displayed with your reference number. The confirmation will be sent to your email address at the same time as well. If you have not received the confirmation message, please check your spam or junk mail folder. Otherwise, fill out the form again with your correct e-mail address.
