Exzellente Audioqualität
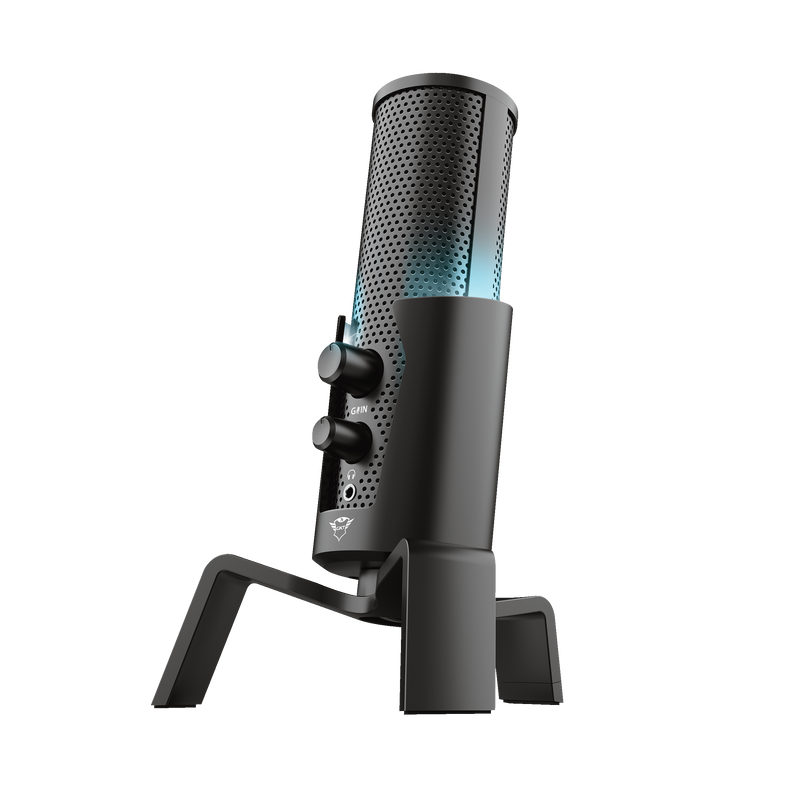
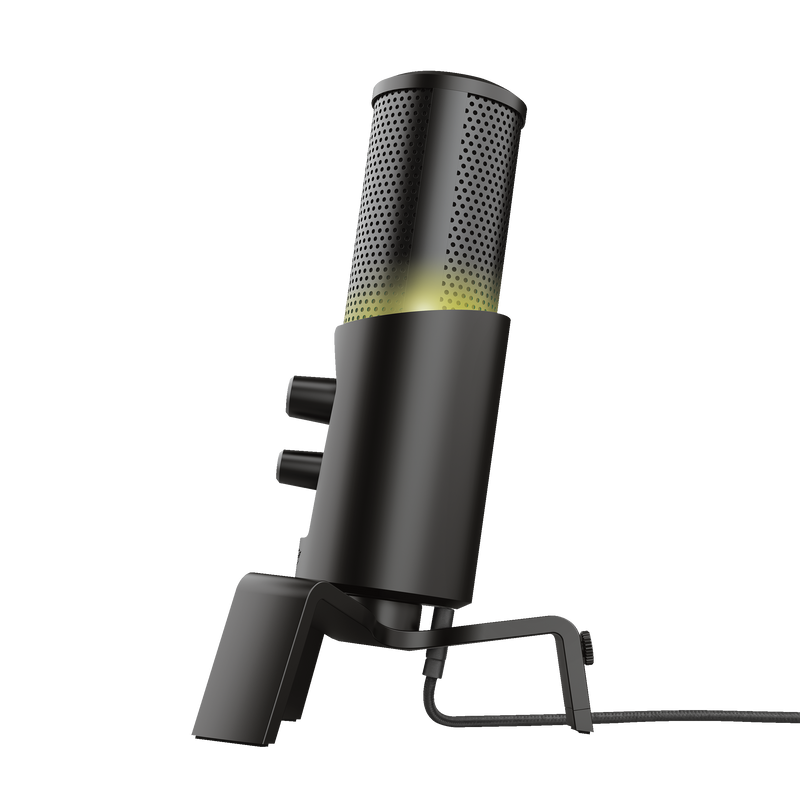
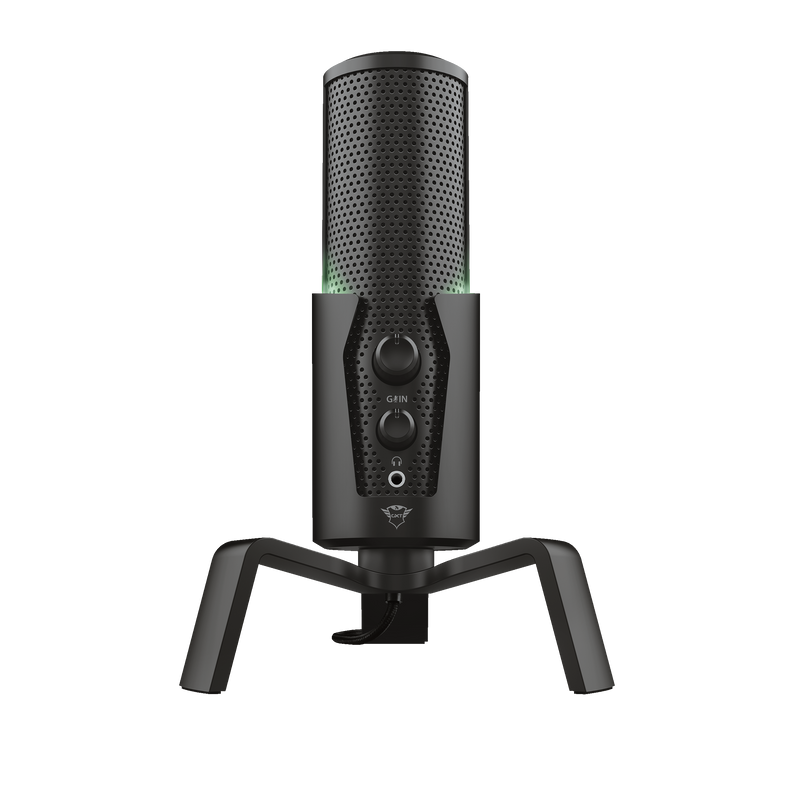
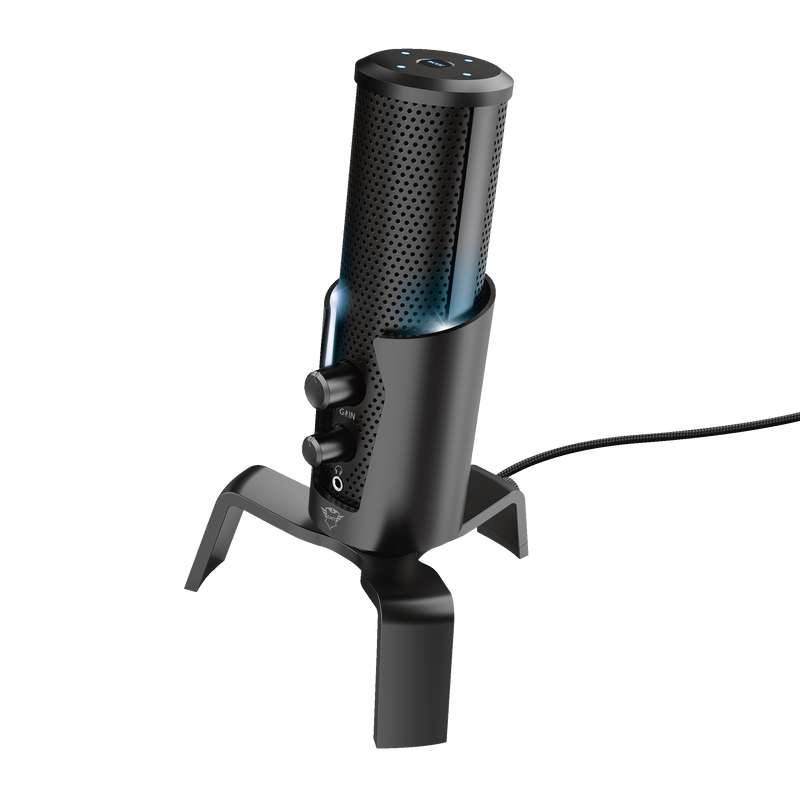
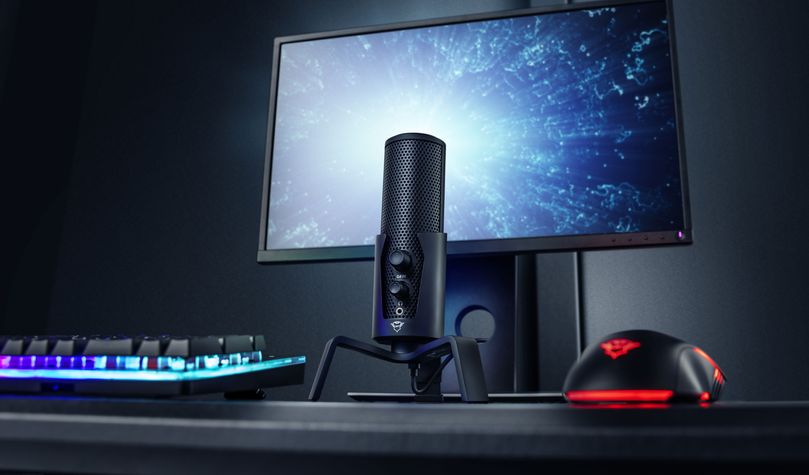
Von allen Geräten hat das verwendete Mikrofon den größten Einfluss auf Ihre Aufnahmen. Es muss Stimmen und Instrumente in der bestmöglichen Qualität erfassen. Deshalb wurde das Trust GXT 258 Fyru 4-in-1 Streaming Mikrofon so konzipiert, dass es kristallklare und klangvolle Aufnahmen von nahezu professioneller Studioqualität liefert.
Hauptfunktionen
Machen Sie die Aufnahmen auf Ihre Art: 4 verschiedene Möglichkeiten
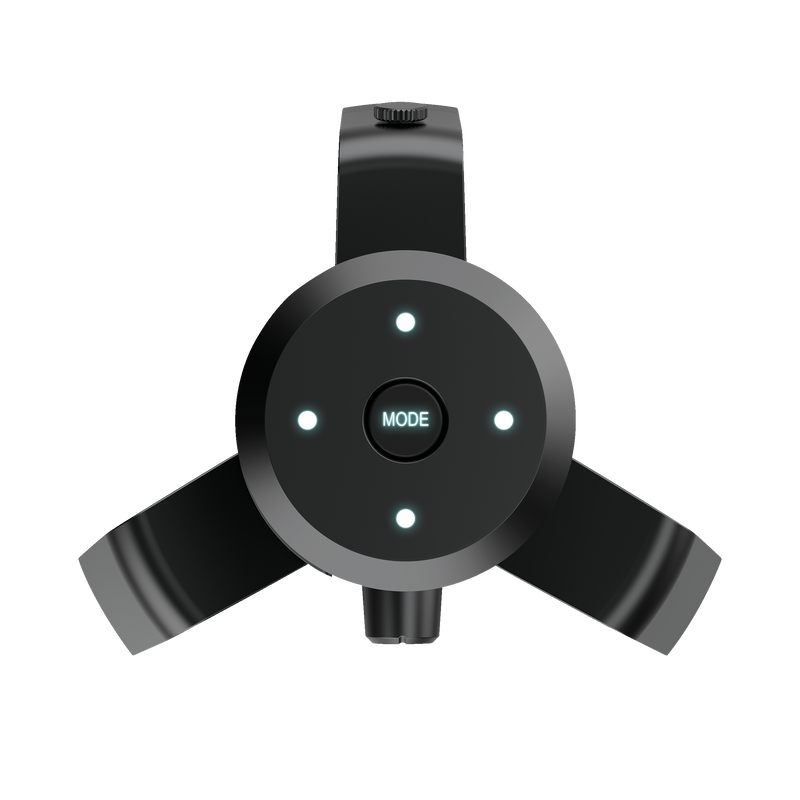
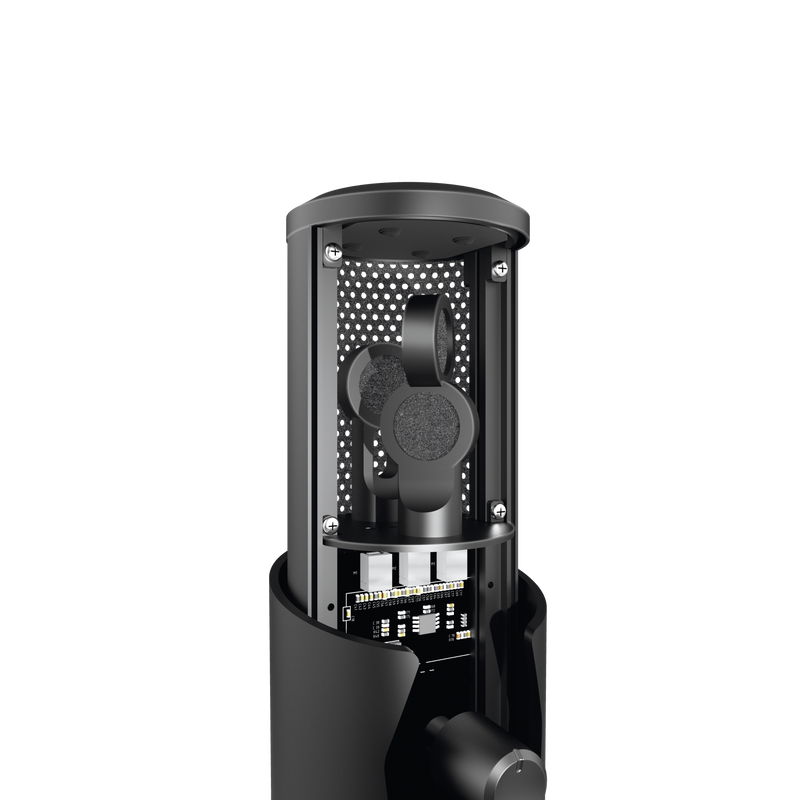
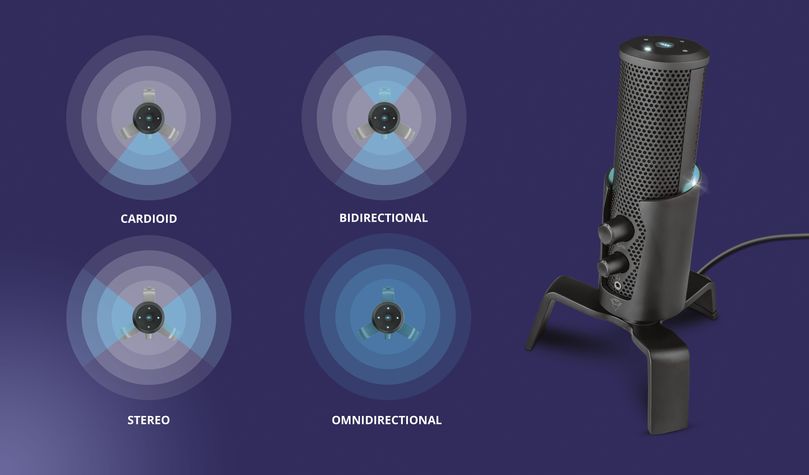
Mit dem Fyru sind Aufnahmen auf 4 verschiedene Arten möglich, die für jede Situation optimiert sind. Verwenden Sie Kardioid, wenn Sie eine klare Aufnahme ohne Hintergrundgeräusche wünschen - ideal für Einmann-Podcasts. Bidirektional ist für Aufnahmen von Duetten oder Interviews vorgesehen. Stereo ist optimal für Aufnahmen von Stereo-Musikeinstellungen und im omnidirektionalen Modus erfassen Sie alle Umgebungsgeräusche, perfekt, wenn Sie einen Gruppen-Podcast aufnehmen möchten.
Zusätzliche professionelle Funktionen
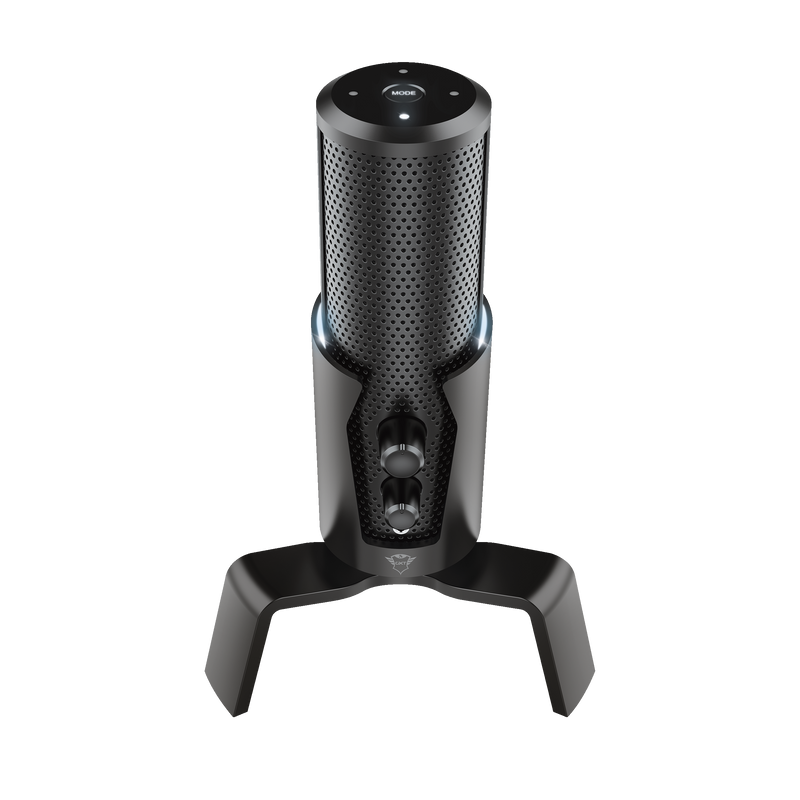
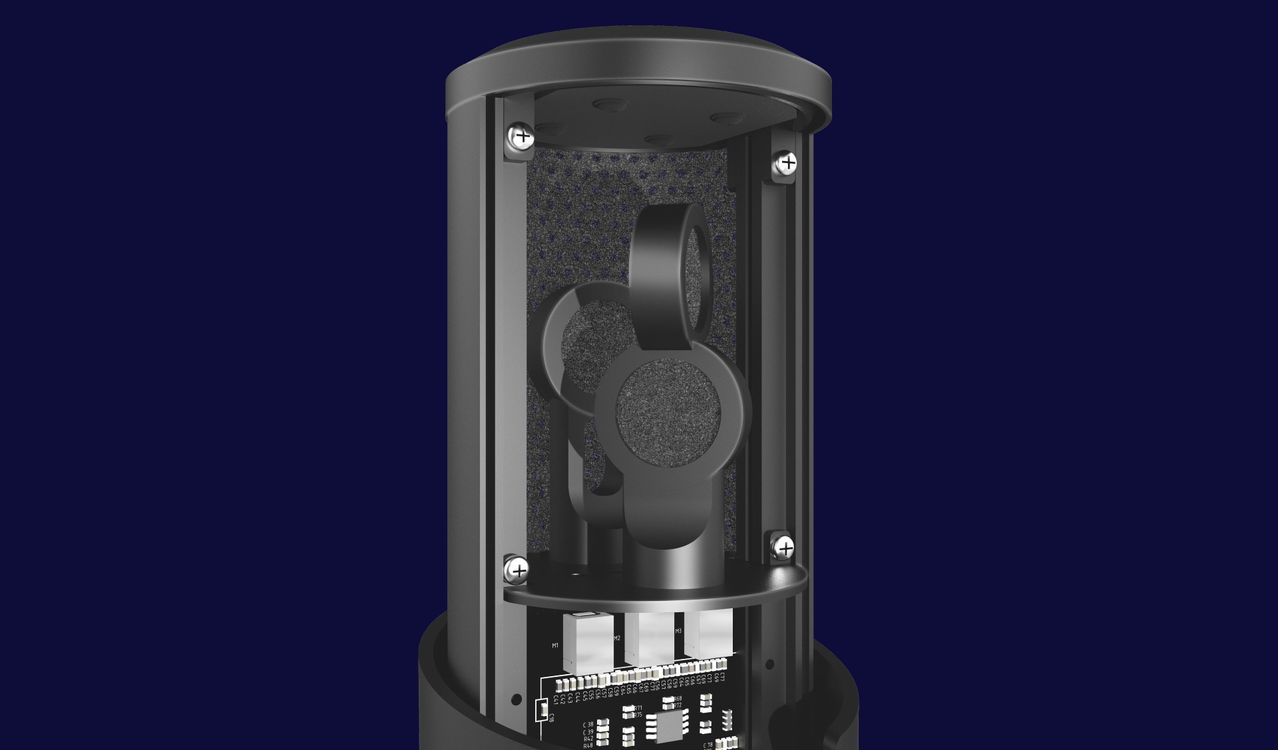
Um Ihre Aufnahmen zu perfektionieren, können Sie diese in Echtzeit abhören, und zwar über den latenzfreien Kopfhörermonitoranschluss des Fyru. Außerdem können Sie Ihre Einstellungen mit den praktischen an der Mikrofronfront angebrachten Reglern für Mikrofonverstärkung, Stummschaltung und Kopfhörerlautstärke regulieren. Der interne Poppfilter filtert Plosive und Reiblaute (unerwünschte Geräusche von Buchstaben wie P und F) aus und ermöglicht so noch bessere Aufnahmen.
Spezifikationen
Features
Size & Weight
General
Control
Connectivity
Audio
Microphone
Mount
Compatibility
Zusatzinformation
Mikrofon mit Dreibeinstativ
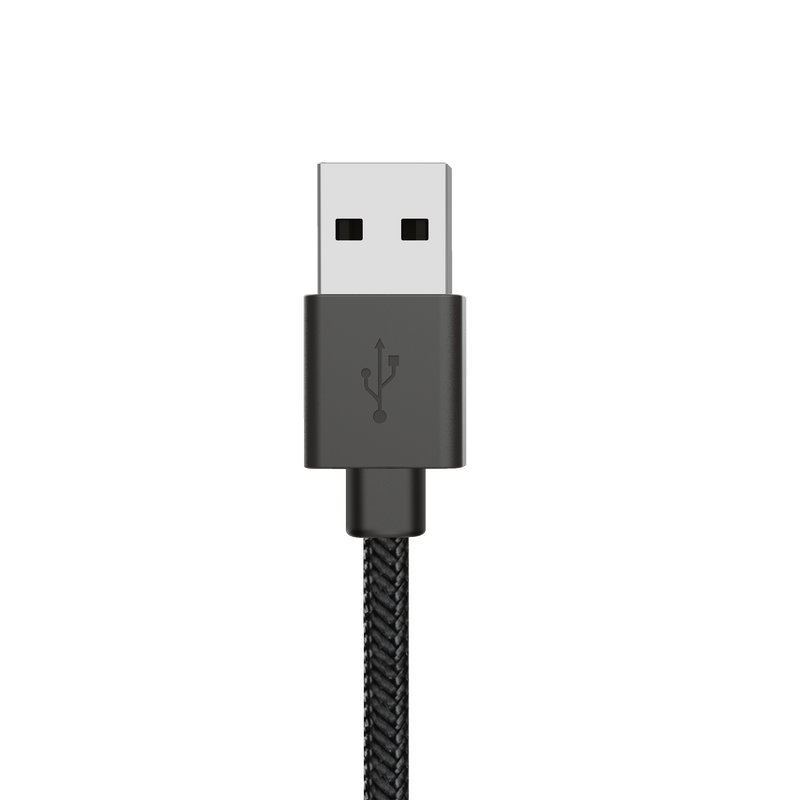
USB-C-auf-USB-A-Kabel
Bedienungsanleitung
Gaming-Sticker
PC oder Laptop mit USB-Anschluss
Windows 10, 11 oder Mac OS X 10.5 (Leopard) oder höher
oder
PS4™
Downloads
Konformitätserklärung
Version 1.0 | Mehrsprachig
Konformitätserklärung
EU-Konformitätserklärung
Version 1.0 | Mehrsprachig
EU-Konformitätserklärung
Häufig gestellte Fragen (FAQ)
- Assemble the microphone and set it in your preferred position
- Connect the USB-plug to the USB-connection of the computer
- Set the microphone as the default sound input and the speaker as the default sound output device on the computer.
- Check the microphone properties and on Windows 10 the Microphone Privacy settings.
- The microphone is ready to use
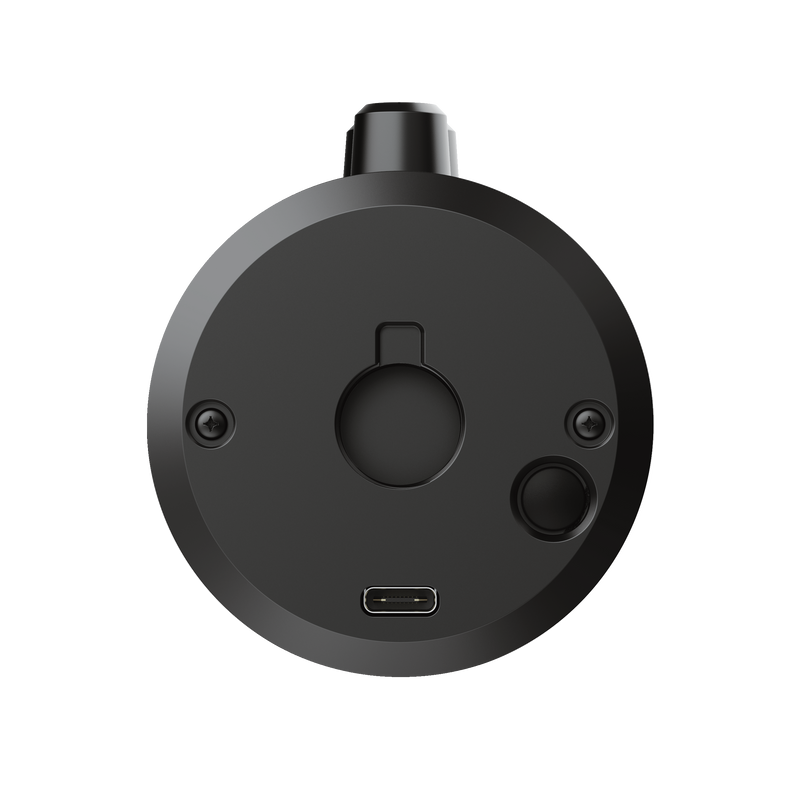
By pressing the button on the bottom of the mic for 5 seconds, you switch the light off (this is called the Eco mode).
Please note that the mode-button will not switch off.
By pressing the button on the bottom of the mic, you can change the colour from blue to green to purple to yellow to white.
The best mode depends on the situation and your personal preference. In general we advise the following:
- Cardioid. Press the top button 1x, 1 indicator will be lit.
This is the preferred mode if you are sitting directly in front of the microphone, e.g. for gaming or live streaming. - Bi-directional. Press the top button 2x, 2 indicators will be lit (top and bottom).
This is the preferred mode if you are talking with another person, each on an opposite side of the microphone. - Stereo. Press the top button 3x, 2 indicators will be lit (left and right).
This is the preferred mode if you are playing an instrument, e.g. your guitar, in front of the microphone. - Omni-directional. Press the top button 4x, all 4 indicators will be lit.
This is the preferred mode if you are with a group of peope, located on all sides of the microphone.
You switch on/off the microphone by pressing the microphone volume button on the front.
If you want the music to be loud, but the monitor volume low, you turn the volume button on the microphone high, and keep the volume in the playback/mic levels low.
There are 5 volume options via this microphone
- 2 buttons on the microphone:
mic volume
headset/speaker volume - 3 options in Windows:
Sound Control Panel > Playback > click on device > Properties > Levels > Speakers/Headphones
Sound Control Panel > Recording > click on device > Properties > Levels > Microphone Array
Sound Control Panel > Recording > click on device > Properties > Levels > Microphone Boost
Check both the headset volume on the computer, as well as the headset volume on the microphone itself. The headset volume button is located on the front of the microphone, right above the headset connection.
Check both the microphone volume on the computer, as well as the microphone volume on the microphone. The microphone volume button is located on the front of the microphone, right above the headset volume button.
The standard microphone volume in Windows is 2.0 dB, which should be sufficient for most purposes.
The red light indicates that the mic mute function has been activated.
When mute is activated, the buttons will not function.
Für einen Garantieumtausch wenden Sie sich bitte an den Händler, bei dem Sie das defekte Gerät gekauft haben, da Sie mit diesem Händler einen Kaufvertrag abgeschlossen haben. Der Händler wird Ihnen gerne, sofern eine gültige Garantie zu diesem Gerät vorliegt, dieses Gerät umtauschen oder kreditieren.
Senden oder bringen Sie das Produkt im Falle eines Defekts mit einer Erläuterung des Defekts, dem Kaufbeleg und allem Zubehör zur Verkaufsstelle zurück.
Innerhalb der Garantiefrist stellt die Verkaufsstelle Ihnen ein vergleichbares Modell zur Verfügung, sofern dieses vorhanden ist.
Unsere Garantiebedingungen:
https://www.trust.com/support/warranty
Xbox Series X / S erkennt keine USB-Mikrofone. Daher ist dieses Mikrofon nicht mit der Xbox Series X / S kompatibel.
Dieses Mikrofon wurde für die Verwendung mit Computern entwickelt und funktioniert auch auf PS4/5.
Es ist nicht mit Xbox One kompatibel; für Xbox ist ein anderes USB-Audio-Setup erforderlich.
Sie können den GXT 253-Mikrofonarm mit den folgenden Trust-Mikrofonen verwenden:
- 21753 - GXT 252 Emita Streaming Microphone
- 22400 - GXT 252+ Emita Plus Streaming Microphone
- 22614 - GXT 242 Lance Streaming Microphone
- 23465 - GXT 258 Fyru USB 4-in-1 Streaming Microphone und 24257 - GXT 258W Fyru USB 4-in-1 Streaming Microphone
Note:
- this microphone fits the arm, but can't be mounted directly onto the shock mount. However with the included (with the microphone arm) adapter you can screw this microphone onto the arm.
- the integrated USB-B cable from the 22563 - GXT 253 Microphone Arm is not supported by the FYRU Microphone. - 23510 - GXT 256 Exxo USB Streaming Microphone
- 23466 - GXT 244 Buzz USB Streaming Microphone
The pick-up pattern of a microphone is the sensitivity to sound relative to the direction or angle from which the sound arrives, or how well the microphone "picks up" the sound from different directions. The most common types are: Cardioid, Omnidirectional, Unidirectional, Bidirectional.
CARDIOID
The most commonly used pattern is most sensitive at 0° (the front) and least sensitive at 180° (the back). This isolates it from unwanted ambient sound. You can use this for most recording applications. It is easy to get a good signal as the cardioid pattern blends out a bad sounding room, a noisy fan in the background, etc.
OMNIDIRECTIONAL
The omnidirectional microphone has equal sensitivity at all angles. This means it picks up sound evenly from all directions. Therefore, the microphone need not be aimed in a certain direction. It will be especially useful in good sounding rooms.
UNIDIRECTIONAL
Unidirectional microphones are most sensitive to sound arriving from directly in front (at 0°) and less sensitive in other directions. This makes unidirectional microphones effective at isolating the desired sound from both unwanted sound and ambient noise.
BIDIRECTIONAL
A bidirectional microphone (with figure-8 pattern) picks up the sound from in front of the microphone (at 0°) and from the rear (at 180°), but not the side (at 90° and 270°). It can be beneficial in situations where you do not want a signal coming from a 90° angle to bleed into the microphone.
The sample rate of this microphone is as follows:
- 96Khz for the 'playback' sound
- 48Khz for the 'recording' sound.
So if you connect your headset to the microphone, you can listen with 96Khz sample rate. But if you record, you record with max. 48Khz.
Kontaktiere uns
Kontaktiere uns
Bitte überprüfen Sie zuerst unsere FAQs. Hier finden Sie wahrscheinlich die Antwort..
Konnte die Antwort nicht in den FAQs finden? Füllen Sie das untenstehende Formular mit so vielen Informationen wie möglich aus. Einer unserer Helpdesk-Mitarbeiter wird so schnell wie möglich antworten. Unsere Nachrichten werden in der Reihenfolge beantwortet, in der sie eingehen.
Diese Bestätigung wurde gleichzeitig an Ihre E-Mail-Adresse gesendet. Wenn Sie diese Nachricht nicht erhalten haben, überprüfen Sie bitte Ihren Spam- oder Junk-Mail-Ordner. Falls Sie die Bestätigung dort auch nicht finden können, senden Sie das Formular bitte erneut mit Ihrer korrekten E-Mail-Adresse.
