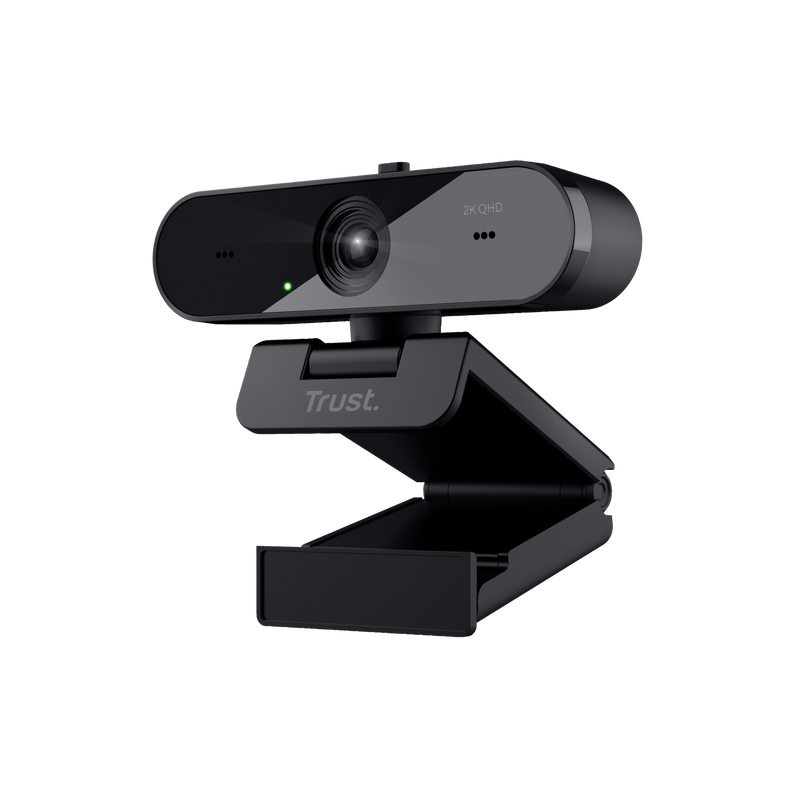
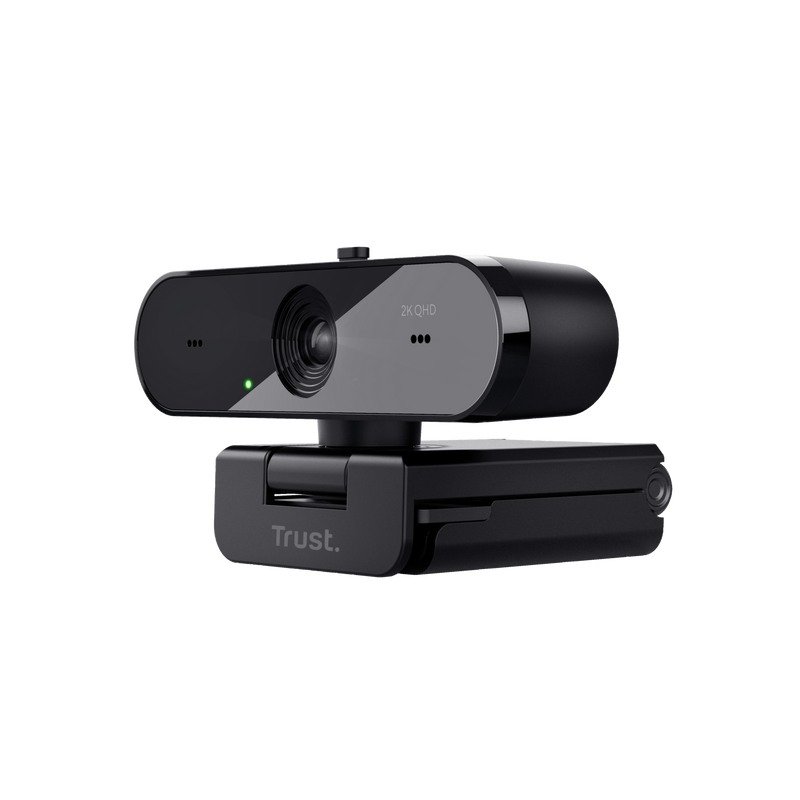
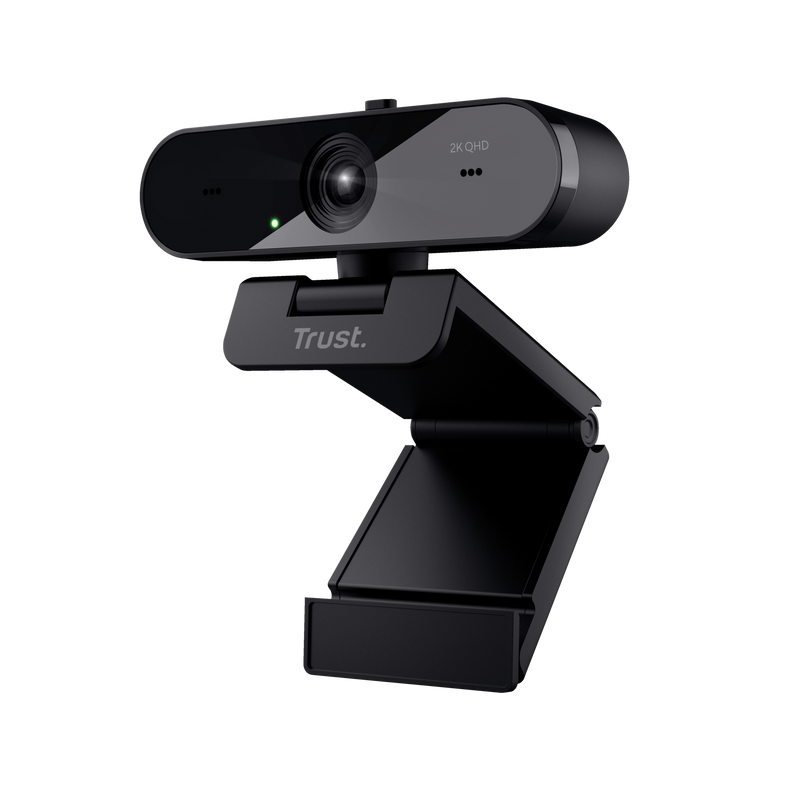
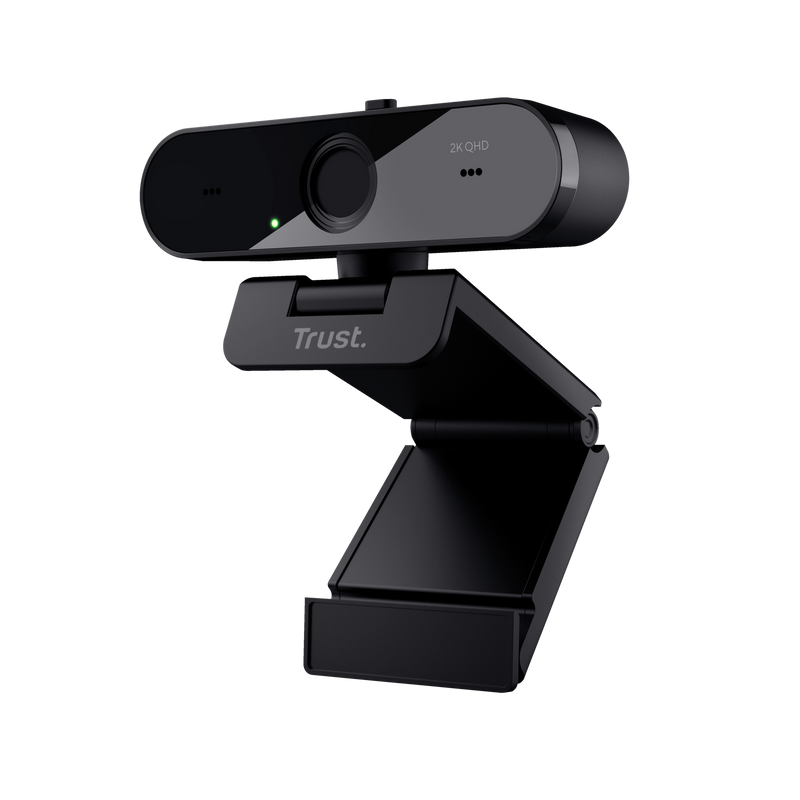
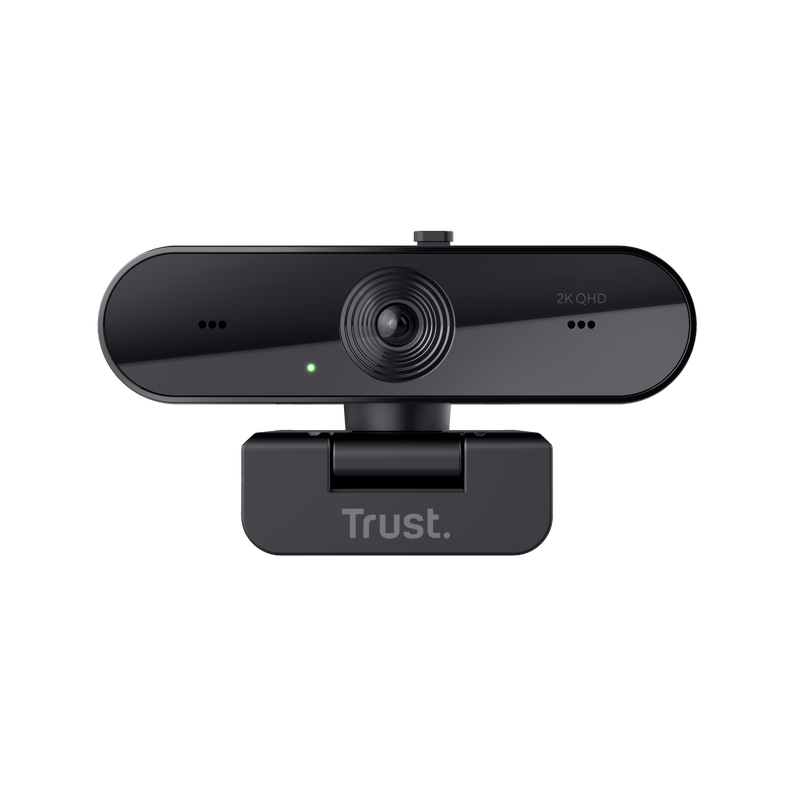
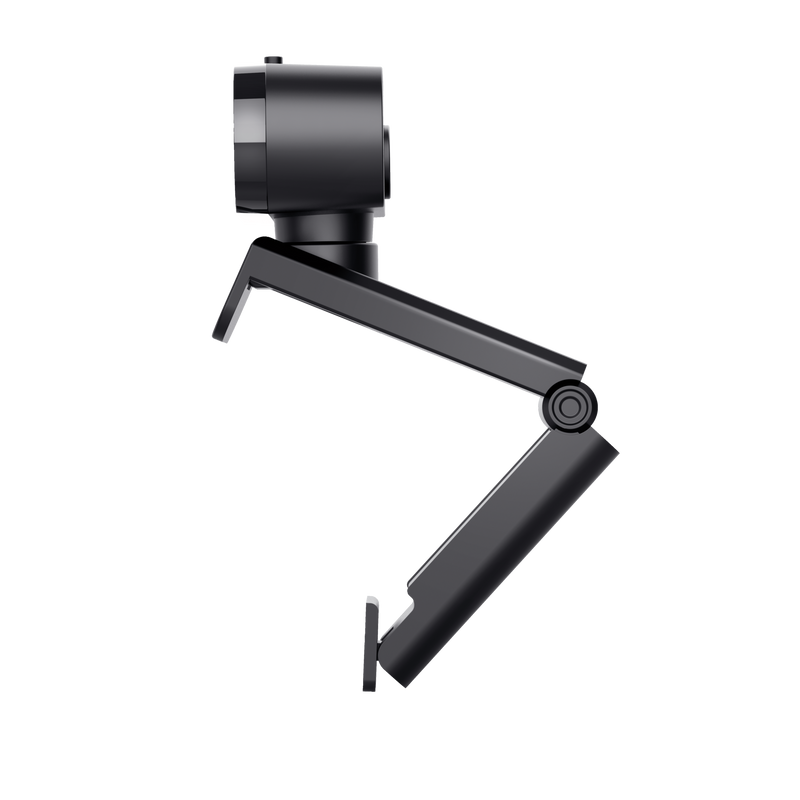
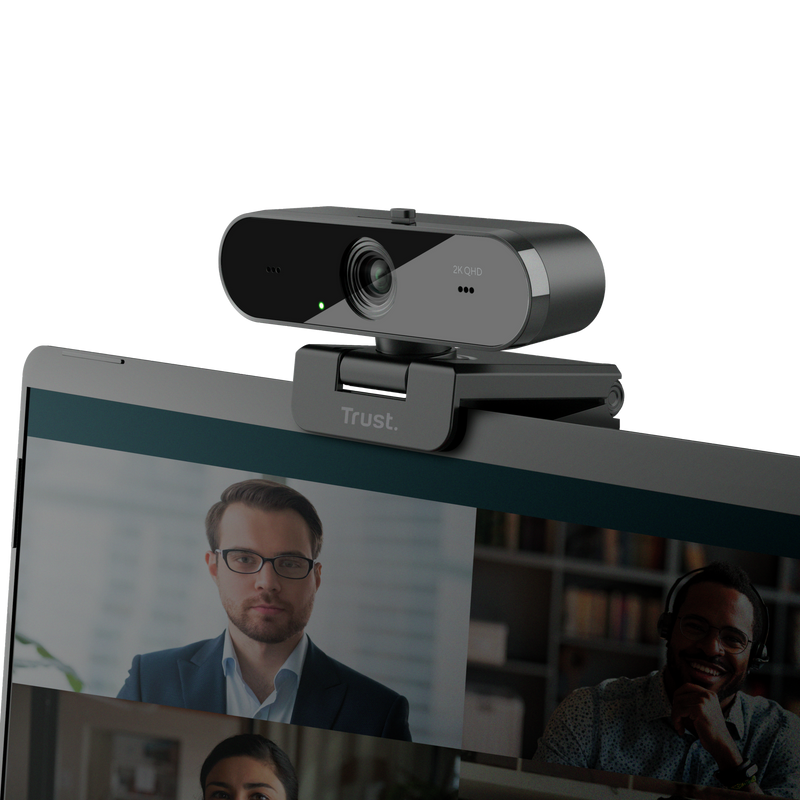
QHD Web Kamerası
Otomatik odak, çift mikrofon ve gizlilik filtresine sahip, yüksek kaliteli 2K QHD web kamerası
Özellikler
Sustainability
Features
Size & Weight
Installation
Sensor
Connectivity
Audio
Microphone
Imaging
Lighting
Compatibility
Ekstra bilgi
Web Kamerası
Kullanım kılavuzu
Windows 10, 11
macOS 10.15, 11, 12
Chrome OS
USB portu
Dosyalar
Uyumluluk bilgileri
Versiyon 1.0 | Çok dilli
Uyumluluk bilgileri
EU declaration of conformity (DoC)
Versiyon 1.0 | Çok dilli
EU declaration of conformity (DoC)
Sıkça Sorulan Sorular (FAQ)
The webcam functions with the built-in functionality of the computer.
To install:
- Connect the webcam to the computer
- Make sure the webcam (and its microphone) are allowed in the Privacy settings to be used by applications
- Set both the webcam (and its microphone) as the default sound input and sound output device on the computer.
- When you use the webcam with an application such as Skype / Teams / Zoom, you have to set the webcam (and its microphone) as the default sound device in the settings of that application too.
- When using a browser-based application, such as Meet, make sure the browser also has access to the webcam (and microphone) through the browser settings:
- The webcam is ready to use.
How To Enable Webcam/Microphone on Windows:
1. Open Settings by pressing the Windows + I shortcut key, or by clicking the Settings icon from the Start Menu.
2. From the Settings window, click Privacy.
3. Click Camera in the left panel. You’ll see an option that says “Allow apps to access your camera“. Slide the toggle On. And select which apps can access your camera.
4. Click Microphone in the left panel and make sure the option that says “Allow apps to access your microphone.” is also toggled On. And select which apps can access your microphone.
For more information on camera, microphone, and privacy, consult the extended Microsoft support information available at https://support.microsoft.com.
This is a Windows setting.
In Windows 10, use the Privacy page to choose which apps can use a particular feature. Select Start > Settings > Privacy. Select the app and choose which app permissions are on or off.
- Make sure that webcam has been correctly installed
- When using Windows 10: Make sure the webcam (and if applicable, its microphone) are allowed in the Privacy settings to be used by the application
- In order to use the webcam with a program, we would advise you to select the Trust webcam as the default video and audio recording device in the configuration menu from the software you are trying to use the webcam with.
- For more information, please refer to software’s user information or contact the manufacturer for specific troubleshooting, which is usually available via the website of the manufacturer.
Check the image orientation in the application that you are using the webcam with. This setting is either normal or mirrored.
Please note that in some meeting applications the "selfview" (or preview) may be flipped but the other participant(s) in the meeting will see it the correct way.
Factors that affect the maximum webcam's frame rate (fps) include the program that is used, the amount of light in the room, and the available bandwidth. Make sure you're getting the best frame rate possible by recording in bright lighting conditions, and not running running several USB-devices simultaneously on the computer.
Unfortunately, we do not have service centers to repair products.
A defective product should be replaced by your point of purchase during the warranty period.
We offer a 'return to retailer' warranty on our products. In case of a defect, you can return the product to your retailer with failure description, proof of purchase and all accessories. During the warranty period you will receive a replacement product from the retailer if available. For full warranty conditions you can consult: https://www.trust.com/support/warranty
Bize Ulaşın
Bize Ulaşın
Please check our FAQs first, chances are you'll find the answer there.
Couldn't find the answer in the FAQs? Fill out the form below with as much information as possible and one of our help-desk staff will respond at the earliest opportunity. Our messages are answered in the order they are received.
After submitting the form a confirmation message will be displayed with your reference number. The confirmation will be sent to your email address at the same time as well. If you have not received the confirmation message, please check your spam or junk mail folder. Otherwise, fill out the form again with your correct e-mail address.
